Luce Homestead History

A dear friend spent some time tracing back the history of this captains house, enjoy a facts about the Luce Homestead.

Screen Shot 2019-11-10 at 4.23.23 PM.png
  • It was built in 1848 by Andrew G. Luce and Rebecca Spear Luce in what was then considered “East Thomaston.”

  • Andrew and Rebecca owned a number of other parcels of land around the house along what is now Route One.

  • Andrew was born on North Haven in 1810, he became a master mariner and trader sailing on his ship, the Ocean Eagle. Andrew died of Yellow Fever in 1860 on a trip to Rio de Janeiro. Rebecca remained at the home, living there with her brother, her children and grand children.

  • According to Andrew’s probate records, the Luce Homestead and land parcel was valued at $1200.

  • The Luce Homestead remained in the family until 1952. The new owners lived there for many. During the 1980’s it was the Wayfarer East Hotel.

Screen Shot 2019-11-10 at 4.26.54 PM.png

Brick House renovation, part V

Let’s begin with a re-naming of the project! After multiple trips to Rockland, one of our generous and knowledgeable friends compiled the ENTIRE history of the Brick House - which should now be known as the Luce Homestead. Built by William Luce in 1854, a ship captain from North Haven. We’ll do a whole house history post, so if you’re interested, stay tuned for that!

307E11CC-8263-4372-97CB-FC23F1B87923.jpg

The third floor is completely finished - you might recall in the last post it had been gutted…

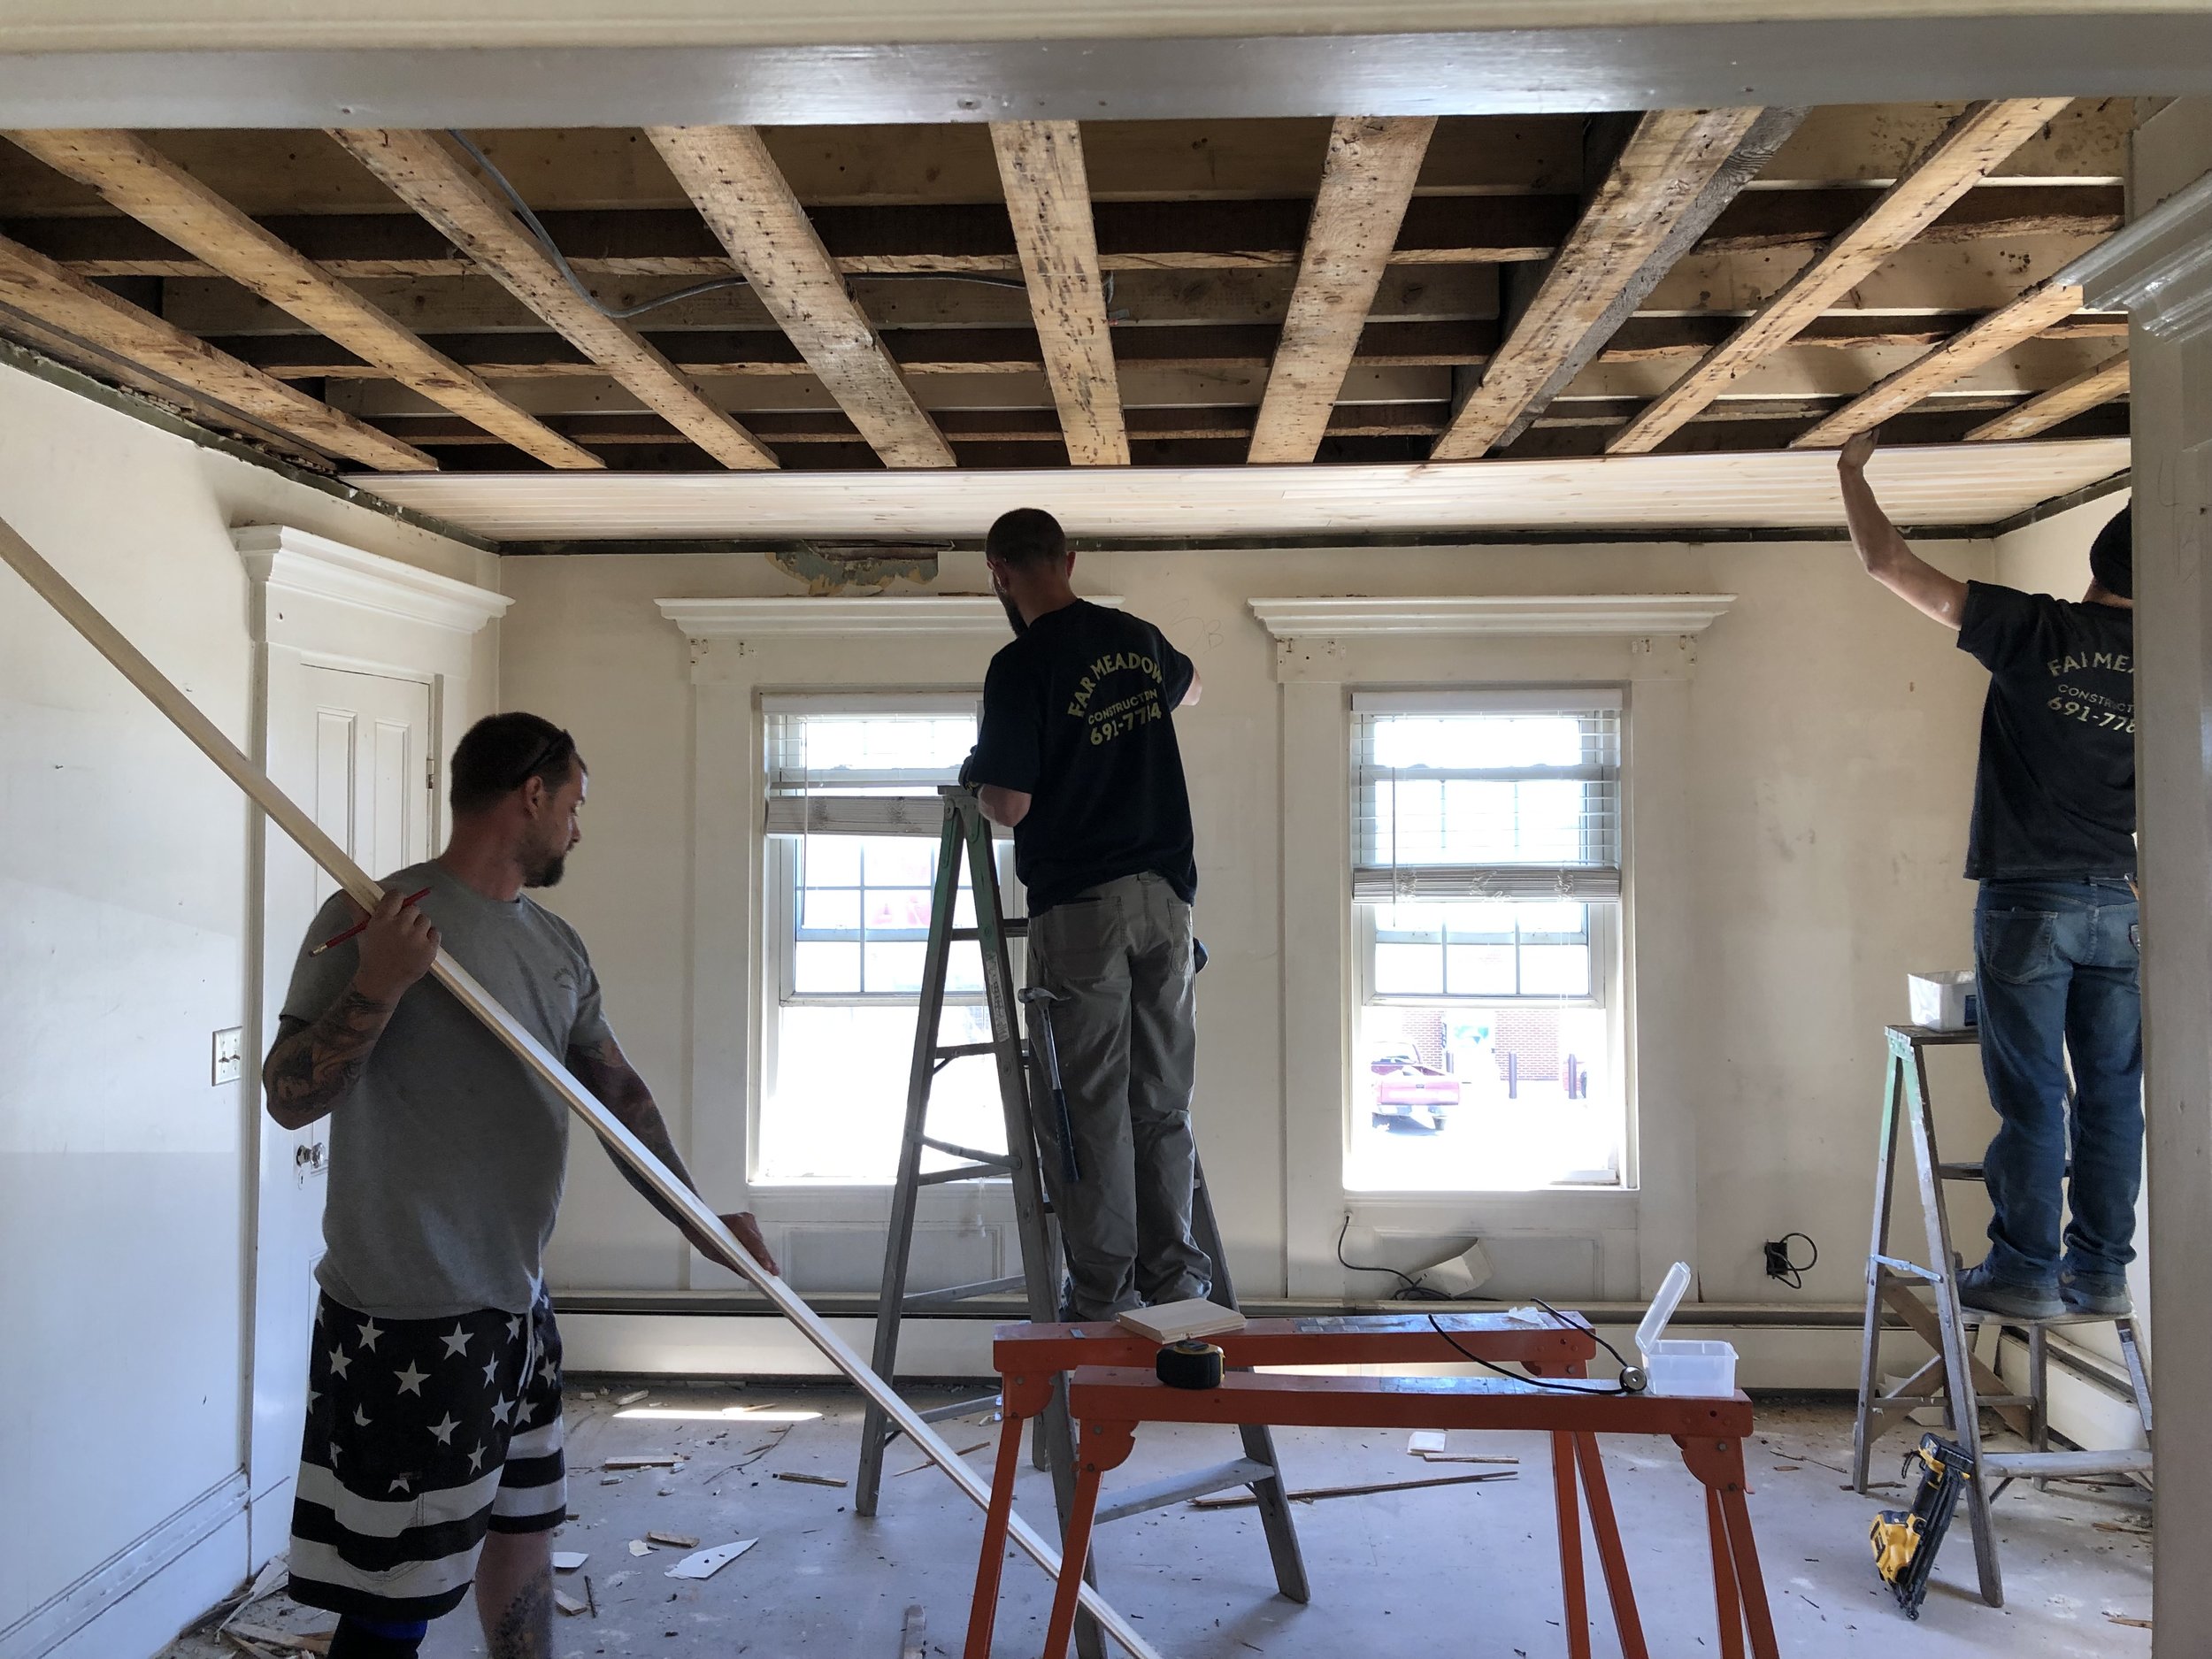
Since then we’ve added two shed roof dormers, added two walk-in closets and crawl spaces, a dividing wall between units, two sets of stairs, floored, walls painted, exposed brick cleaned + painted, recycled and re-finished materials native to the building and installed custom ceilings….

I’ve arrived to work before sunrise a couple times and let me tell you - the view of sunrise over Rockland Harbor from the new bay windows is pretty amazing!

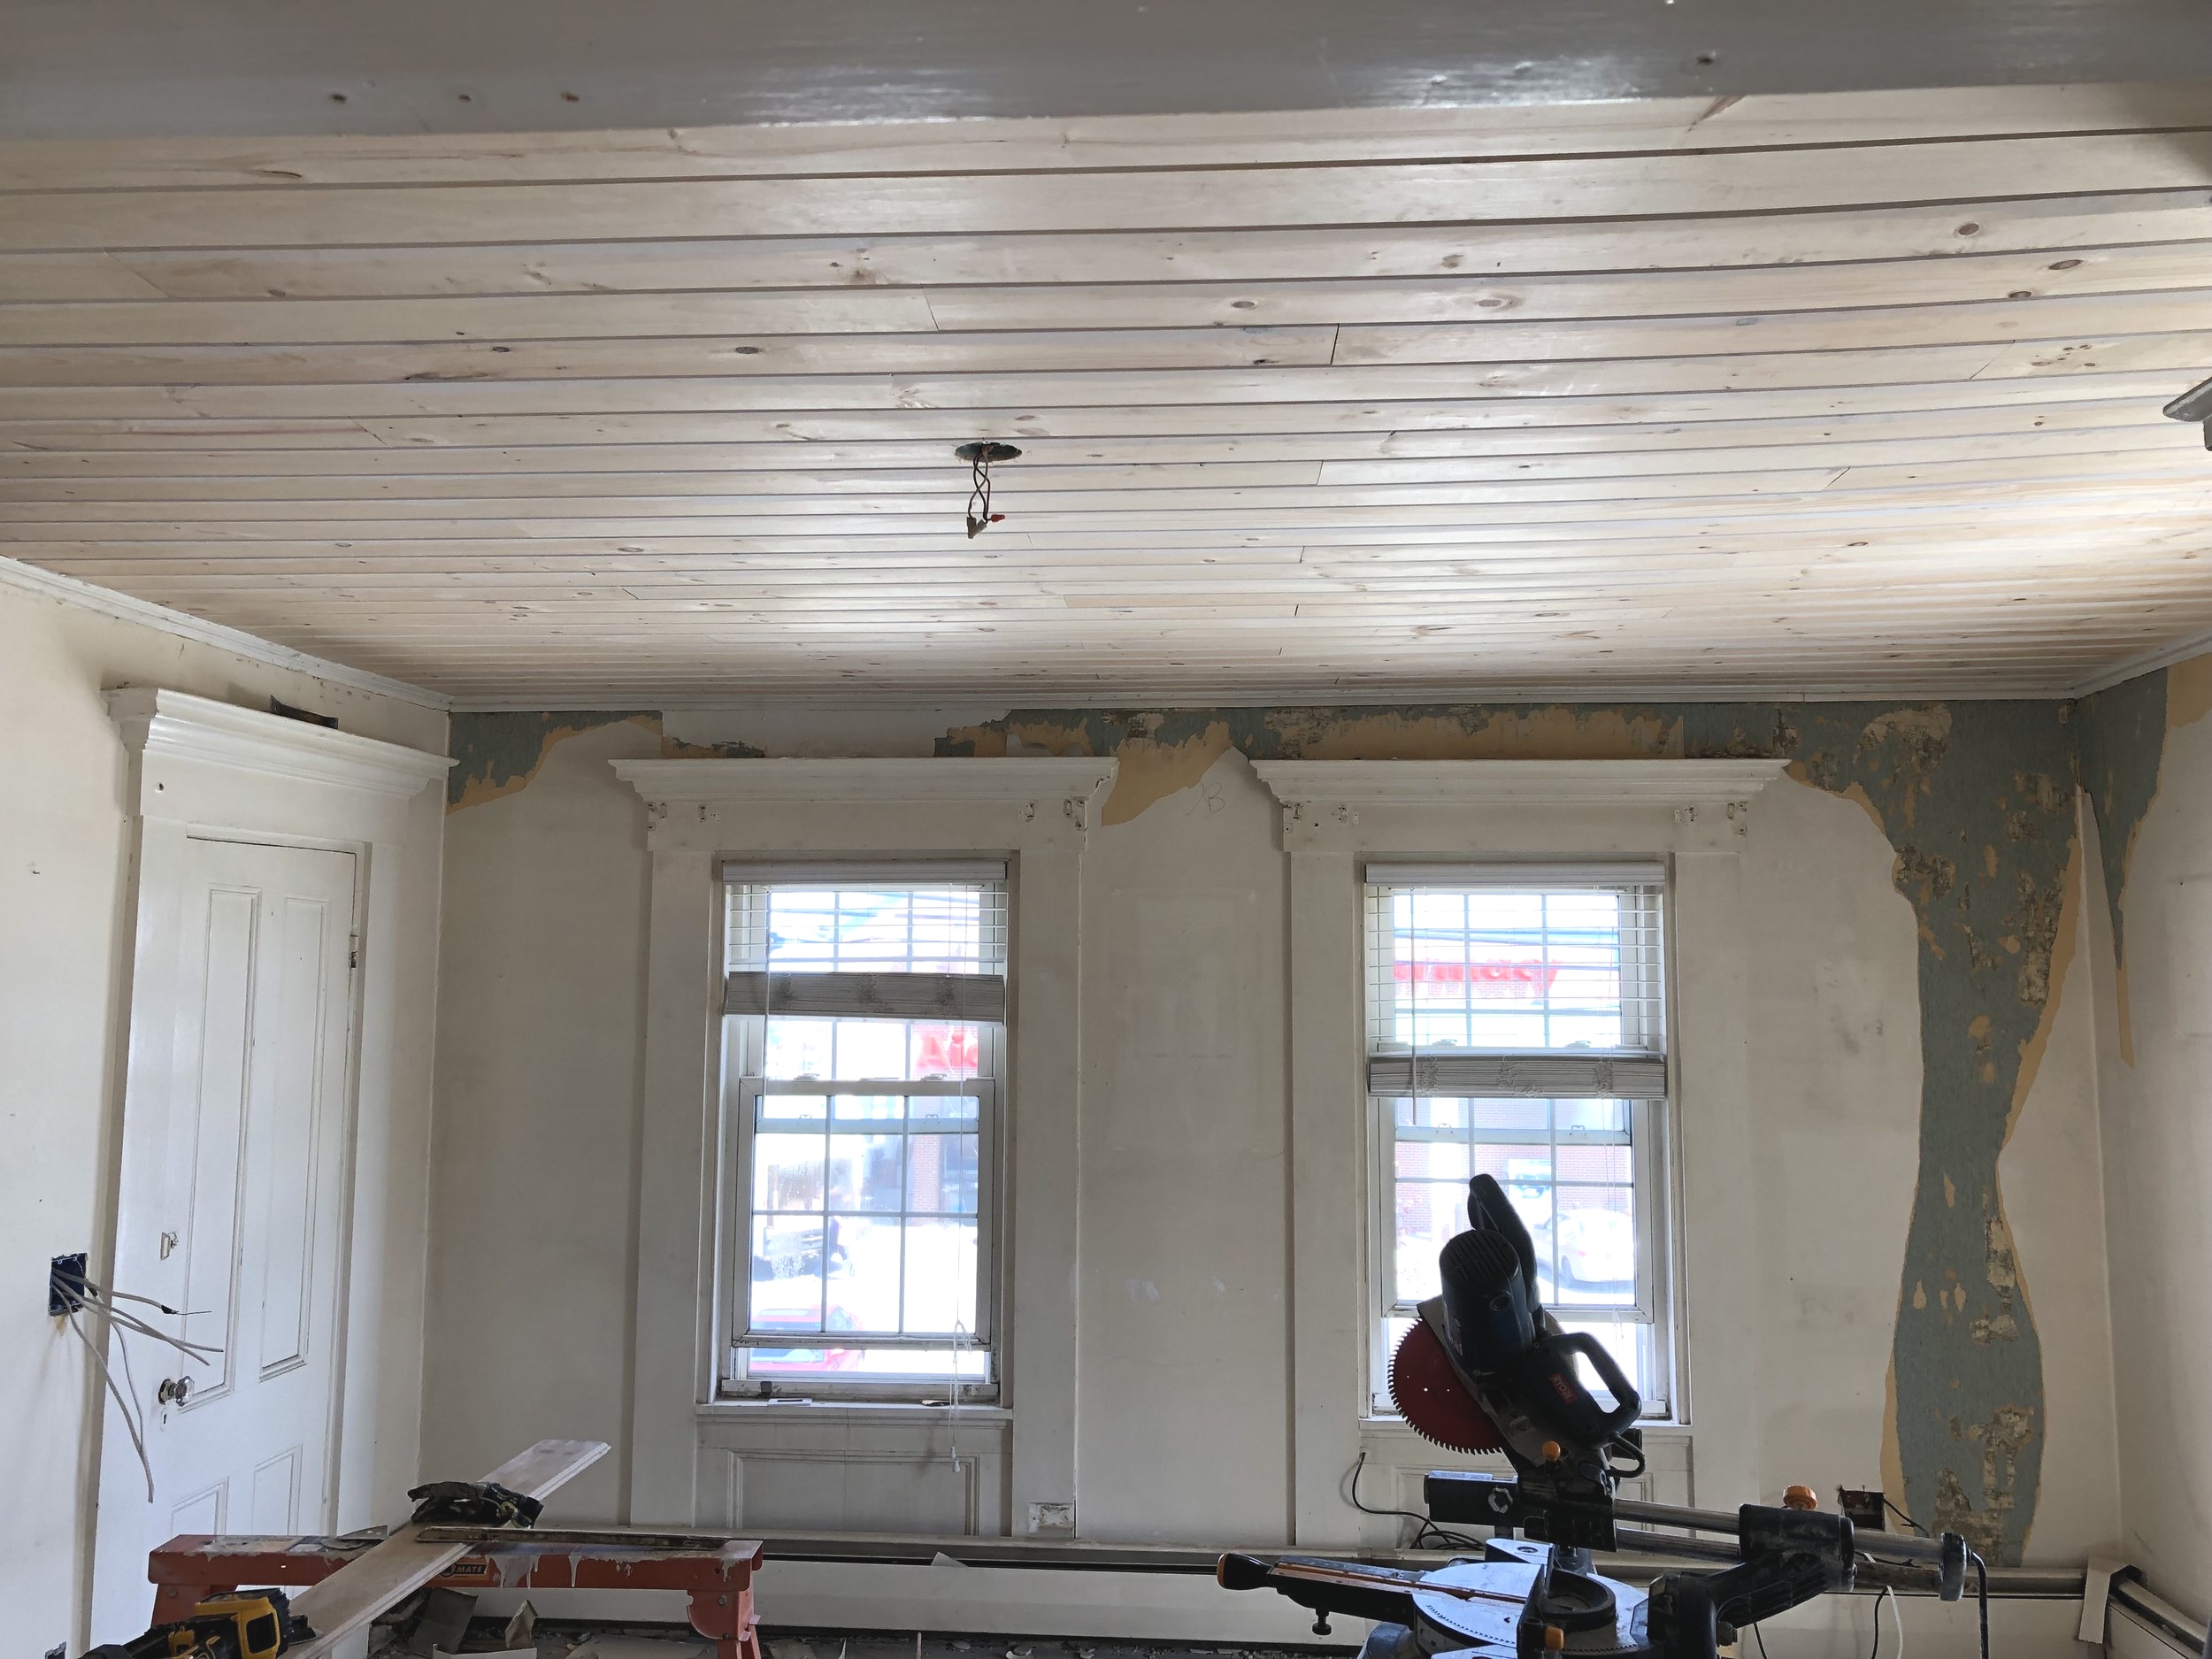
The ceilings are made from the original attic floor boards - old growth pine, and salvaged plants from a barn in Madison. The closet doors were salvaged from the attic and re-finished as well.
fDJc51QdQou1OLbDwGGkQw.jpg

If I do say so myself, who ever gets to call one of these rooms their bedroom is a lucky person! Stay tuned for more updates, I promise to not make you wait 3 months again.

Brick House renovation, part IV

We’re 7 weeks in and a lot has been going on at the Brick House!

I picked, scraped and clawed as much wallpaper as I could off the walls in this unit, then skim coated EVERYTHING. After that, all the walls were primed and painted by your’s truly. It’s amazing how transformative it is when you cover all surfaces in a fresh coat (or two) of paint. The house still holds it’s history and I like to think we’ve kept its unique character as much as we can, but it’s time for a new chapter!

I painted the bead-board in the kitchen what was meant to be “GRAY” - a particular shade I’m very familiar with as it’s the entire first floor of my own home - but this unit has proved to be the most difficult with lighting and color. The “GRAY” looked like baby blue and much to everyone’s frustration, I just couldn’t live with it. Luckily, I’m the painter, so it just cost me my time to change it to the same color as the cabinets and now I love it. [GASP! It’s “BLACK!” How outrageous.]

The the beautiful trim is a mid-gray, the dining area is a “cream” that is looking more “celadon” in this unit (another color I’ve used in the past that is not behaving in this space), and the living room is was meant to be gray but is misbehaving also and appears more like a “lavender.”

On deck for this weekend and next week:
Finish painting all the trim in this unit. (And maybe repainting the living room because the “lilac” color makes me want to claw my eyes out.)
Flooring the kitchen/dining/living rooms in this unit.
Address the bathroom in this unit.
Finish the dormer and start finishing the bedroom.

And on the third floor, work has begun on the dormers for the bedroom. The view is proving to be even better than I expected - we can even see the Breakwater from one of the units! Talk about great advertising points for the Airbnb listings!

IMG_9589.jpeg

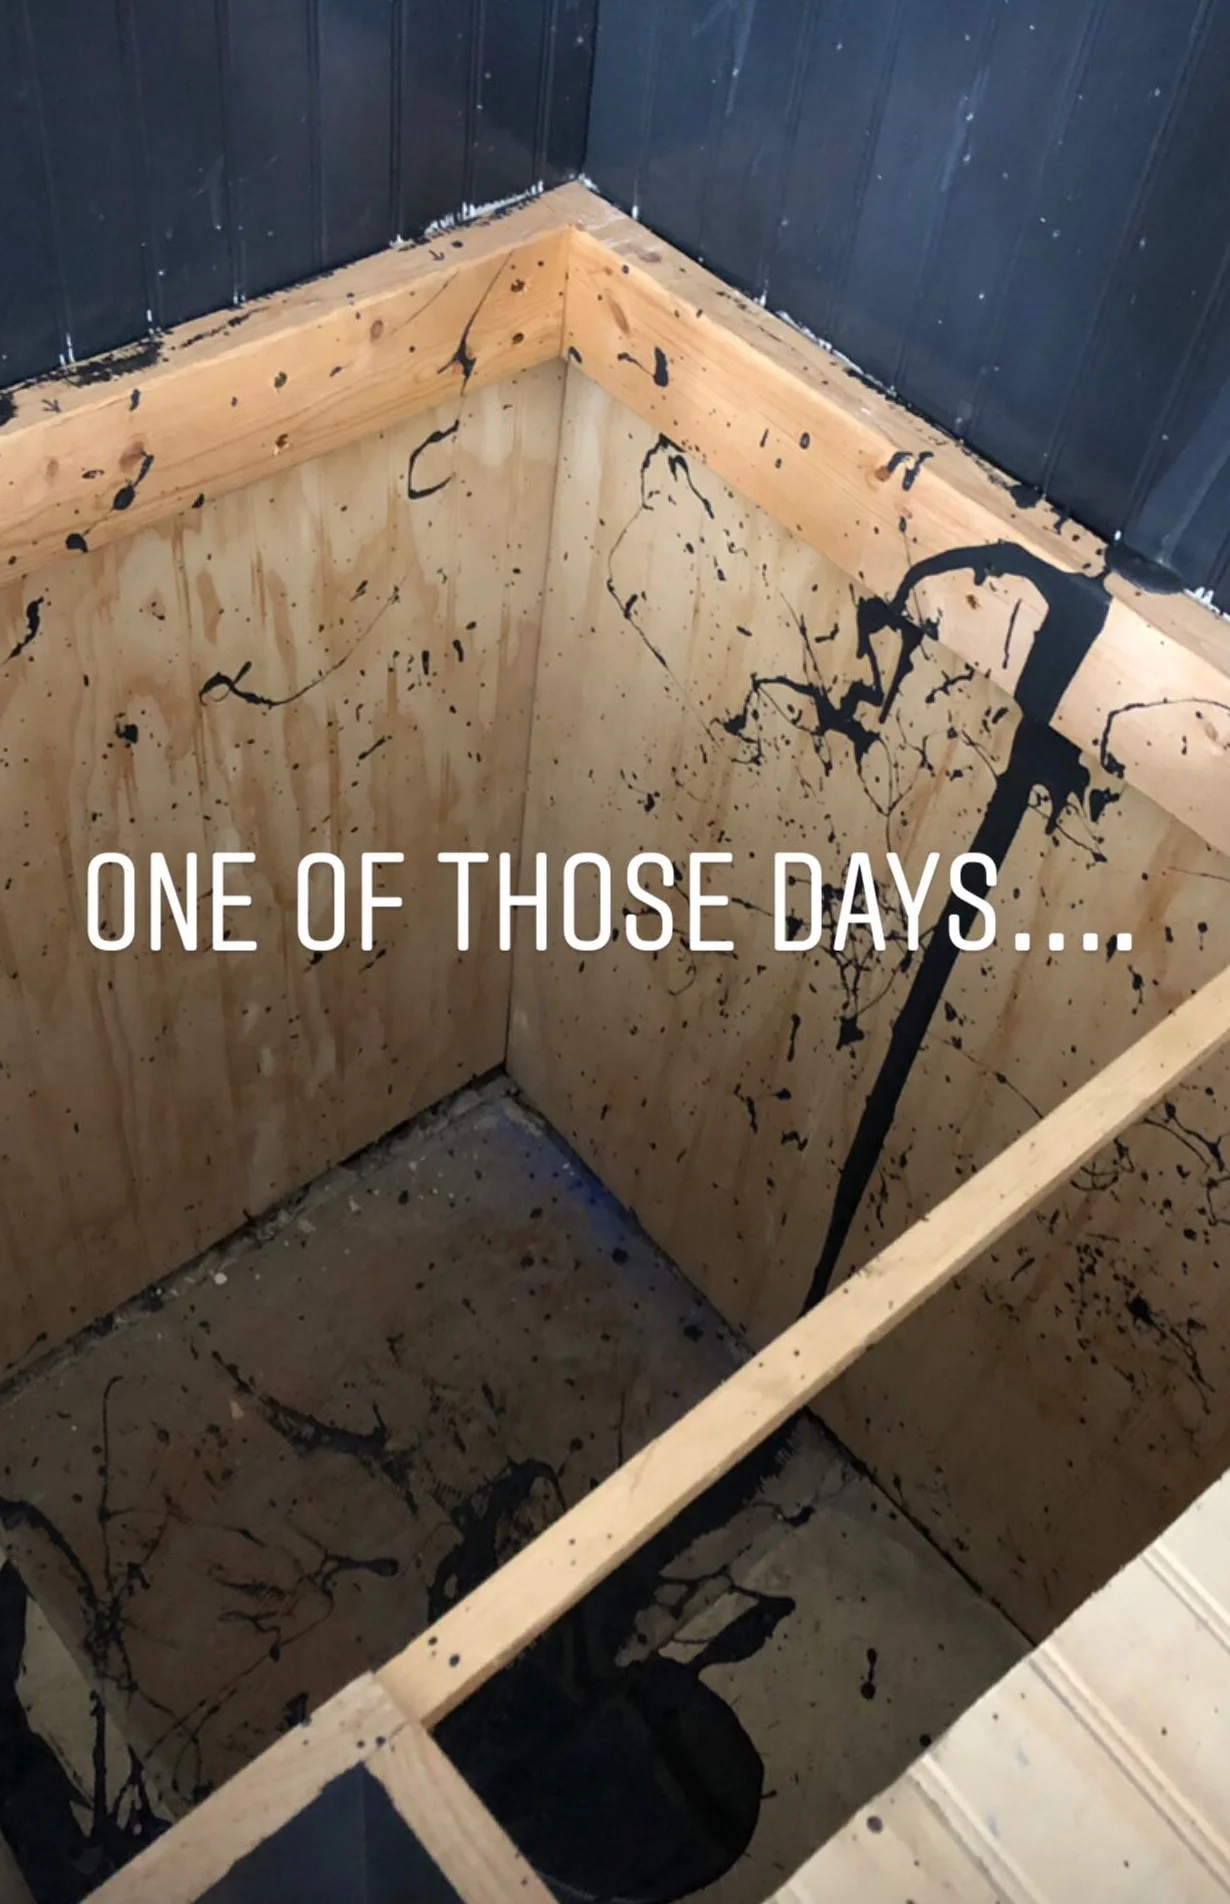
Some days you just feel like EVERYTHING is a battle….

Luckily the paint spilled on a still wet wall of the same color and inside a false cabinet, it could be worse.

Work for yourself.

You work for yourself -

Not for your spouse, your kids, your boss, your best friend, your social media audience, not anyone else.  

I’m not talking about being self employed in the professional sense of the term, I’m talking about ALL the decisions you make.  I’m talking about finding the drive and motivation to follow through to make the life you want.

YOU ARE THE CAPTAIN OF YOUR SHIP - YOU CONTROL THE COURSE.

YOU ARE THE CAPTAIN OF YOUR SHIP - YOU CONTROL THE COURSE.

You are your own boss.  And when you step back and take it all in, if you’re not proud - that falls on YOU.  Stop being passive, stop missing out, stop being a victim.  

Take control, build a practice and a life that you’re PROUD of. 

Work for yourself, you’re worth it.

Brick House renovation, part III

We’re 4 weeks in!

IMG_8245.jpeg

For the most part, we’re working unit by unit rather than renovating all 4 units simultaneously.  The reason for this is that Nick and I will be putting in a fair amount of work ourselves (i.e. flooring and painting) so our contractor is working with us so we don’t get backed up at the end of the project.

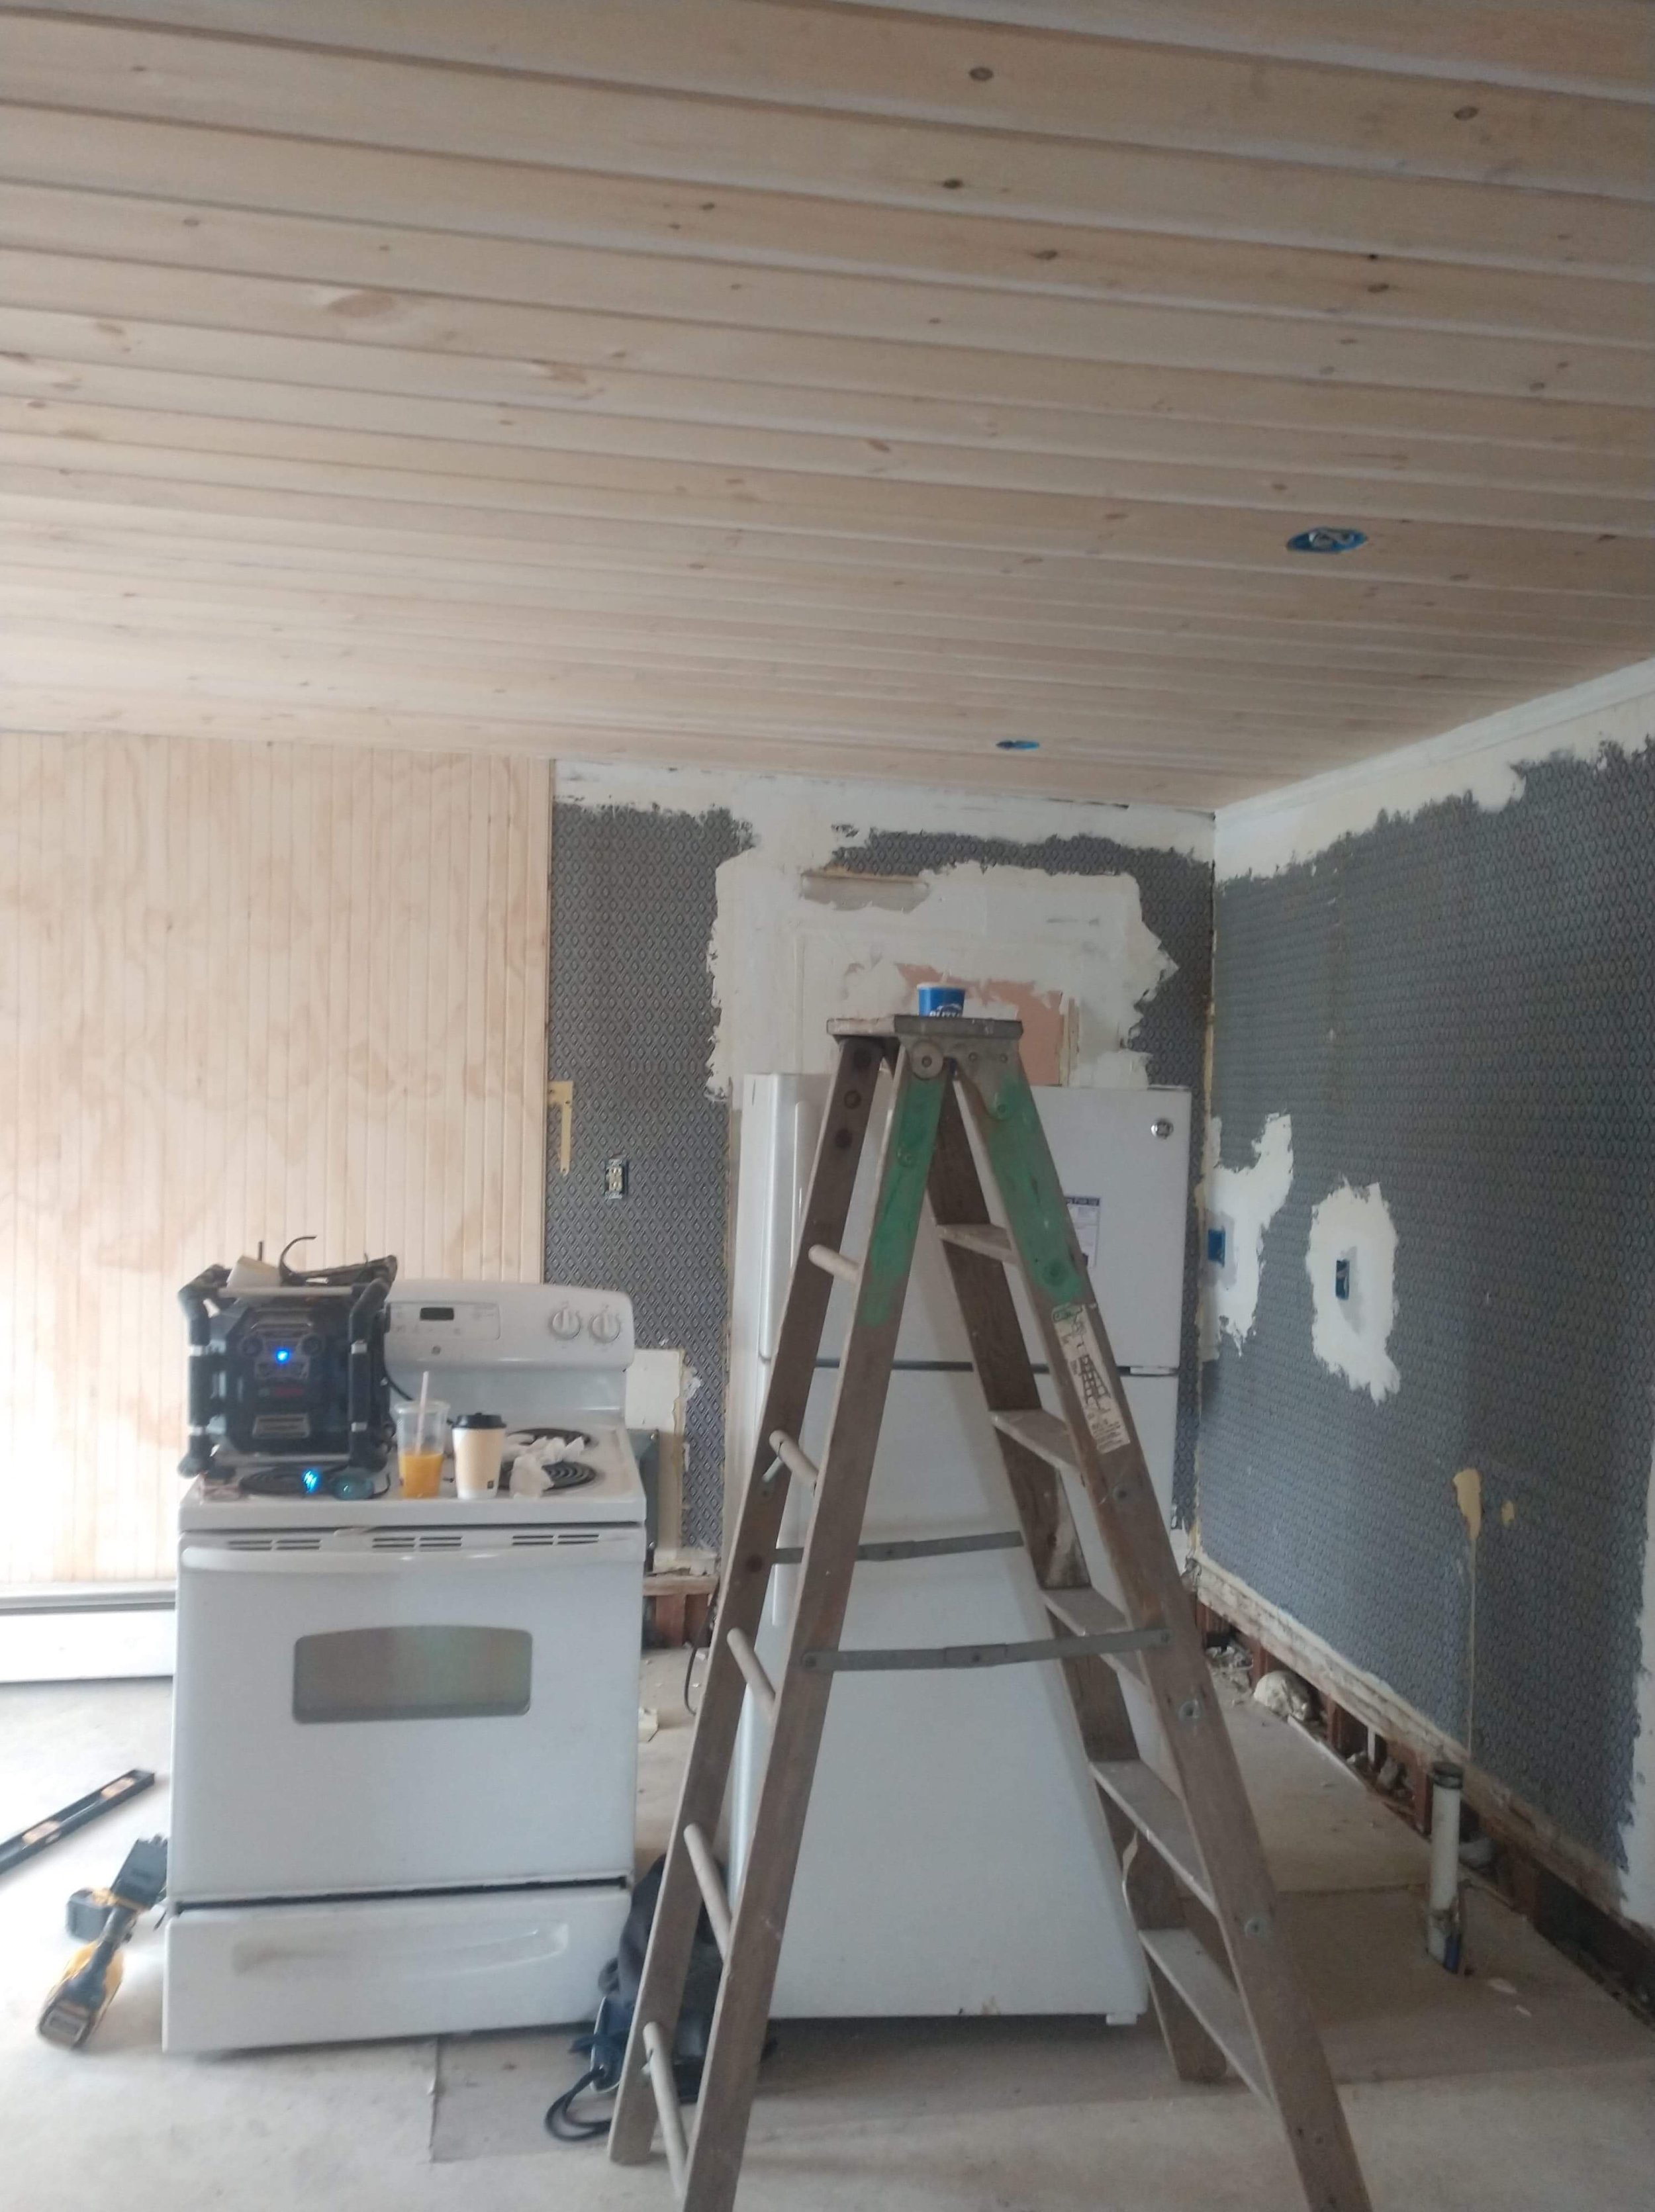
Today’s post is all about my favorite unit - it gets the best sun, a NEW pine plank ceiling (look at that gorgeousness below), original molding, a beautiful bay window and soon to be a new kitchen.

The old ceiling has suffered from the building settling and because it was lath and plaster it had to be gutted before a replacement could be installed.  Rather than a normal drywall ceiling, I opted for v-match pine plank - if you’ve seen our van, you’ll know I’m partial! It will be painted bright white very soon!

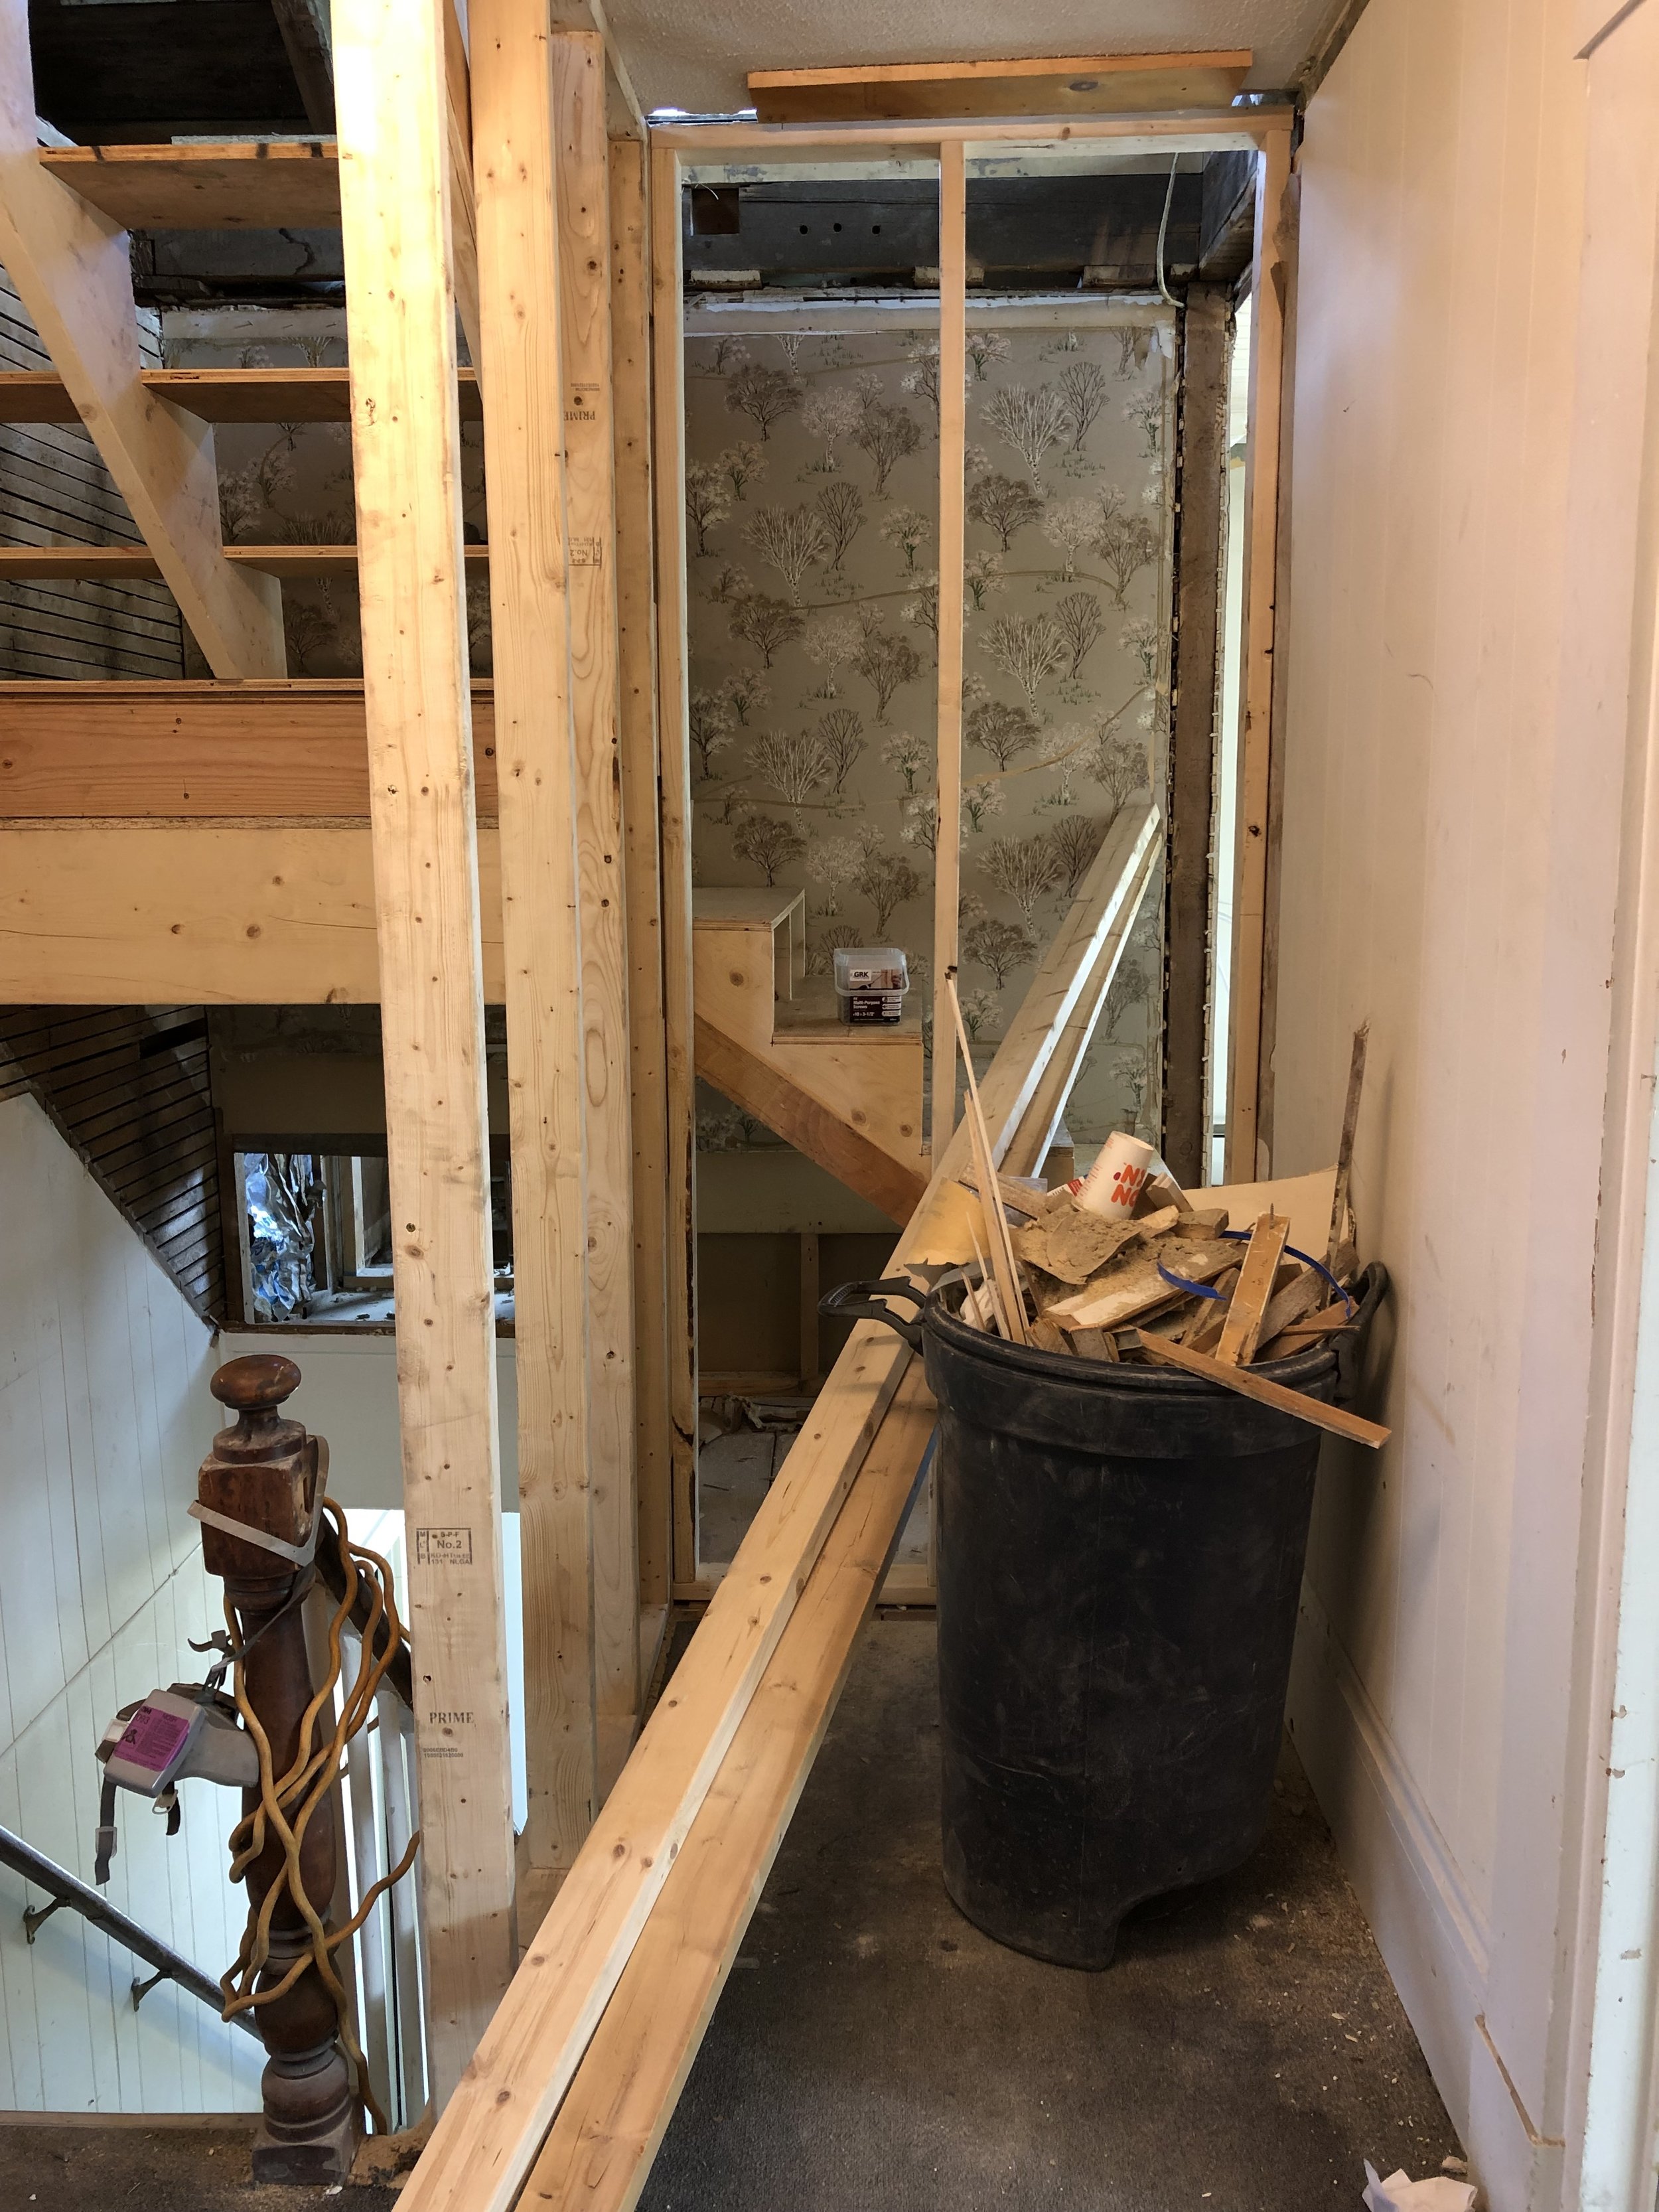
We’ve also got a new set of stairs within the unit which will be used to access the upstairs bedroom.  Due to code, we were unable to keep the original stairs but we salvaged the railings that I hope to repurpose on the third floor.

IMG_8234.jpg

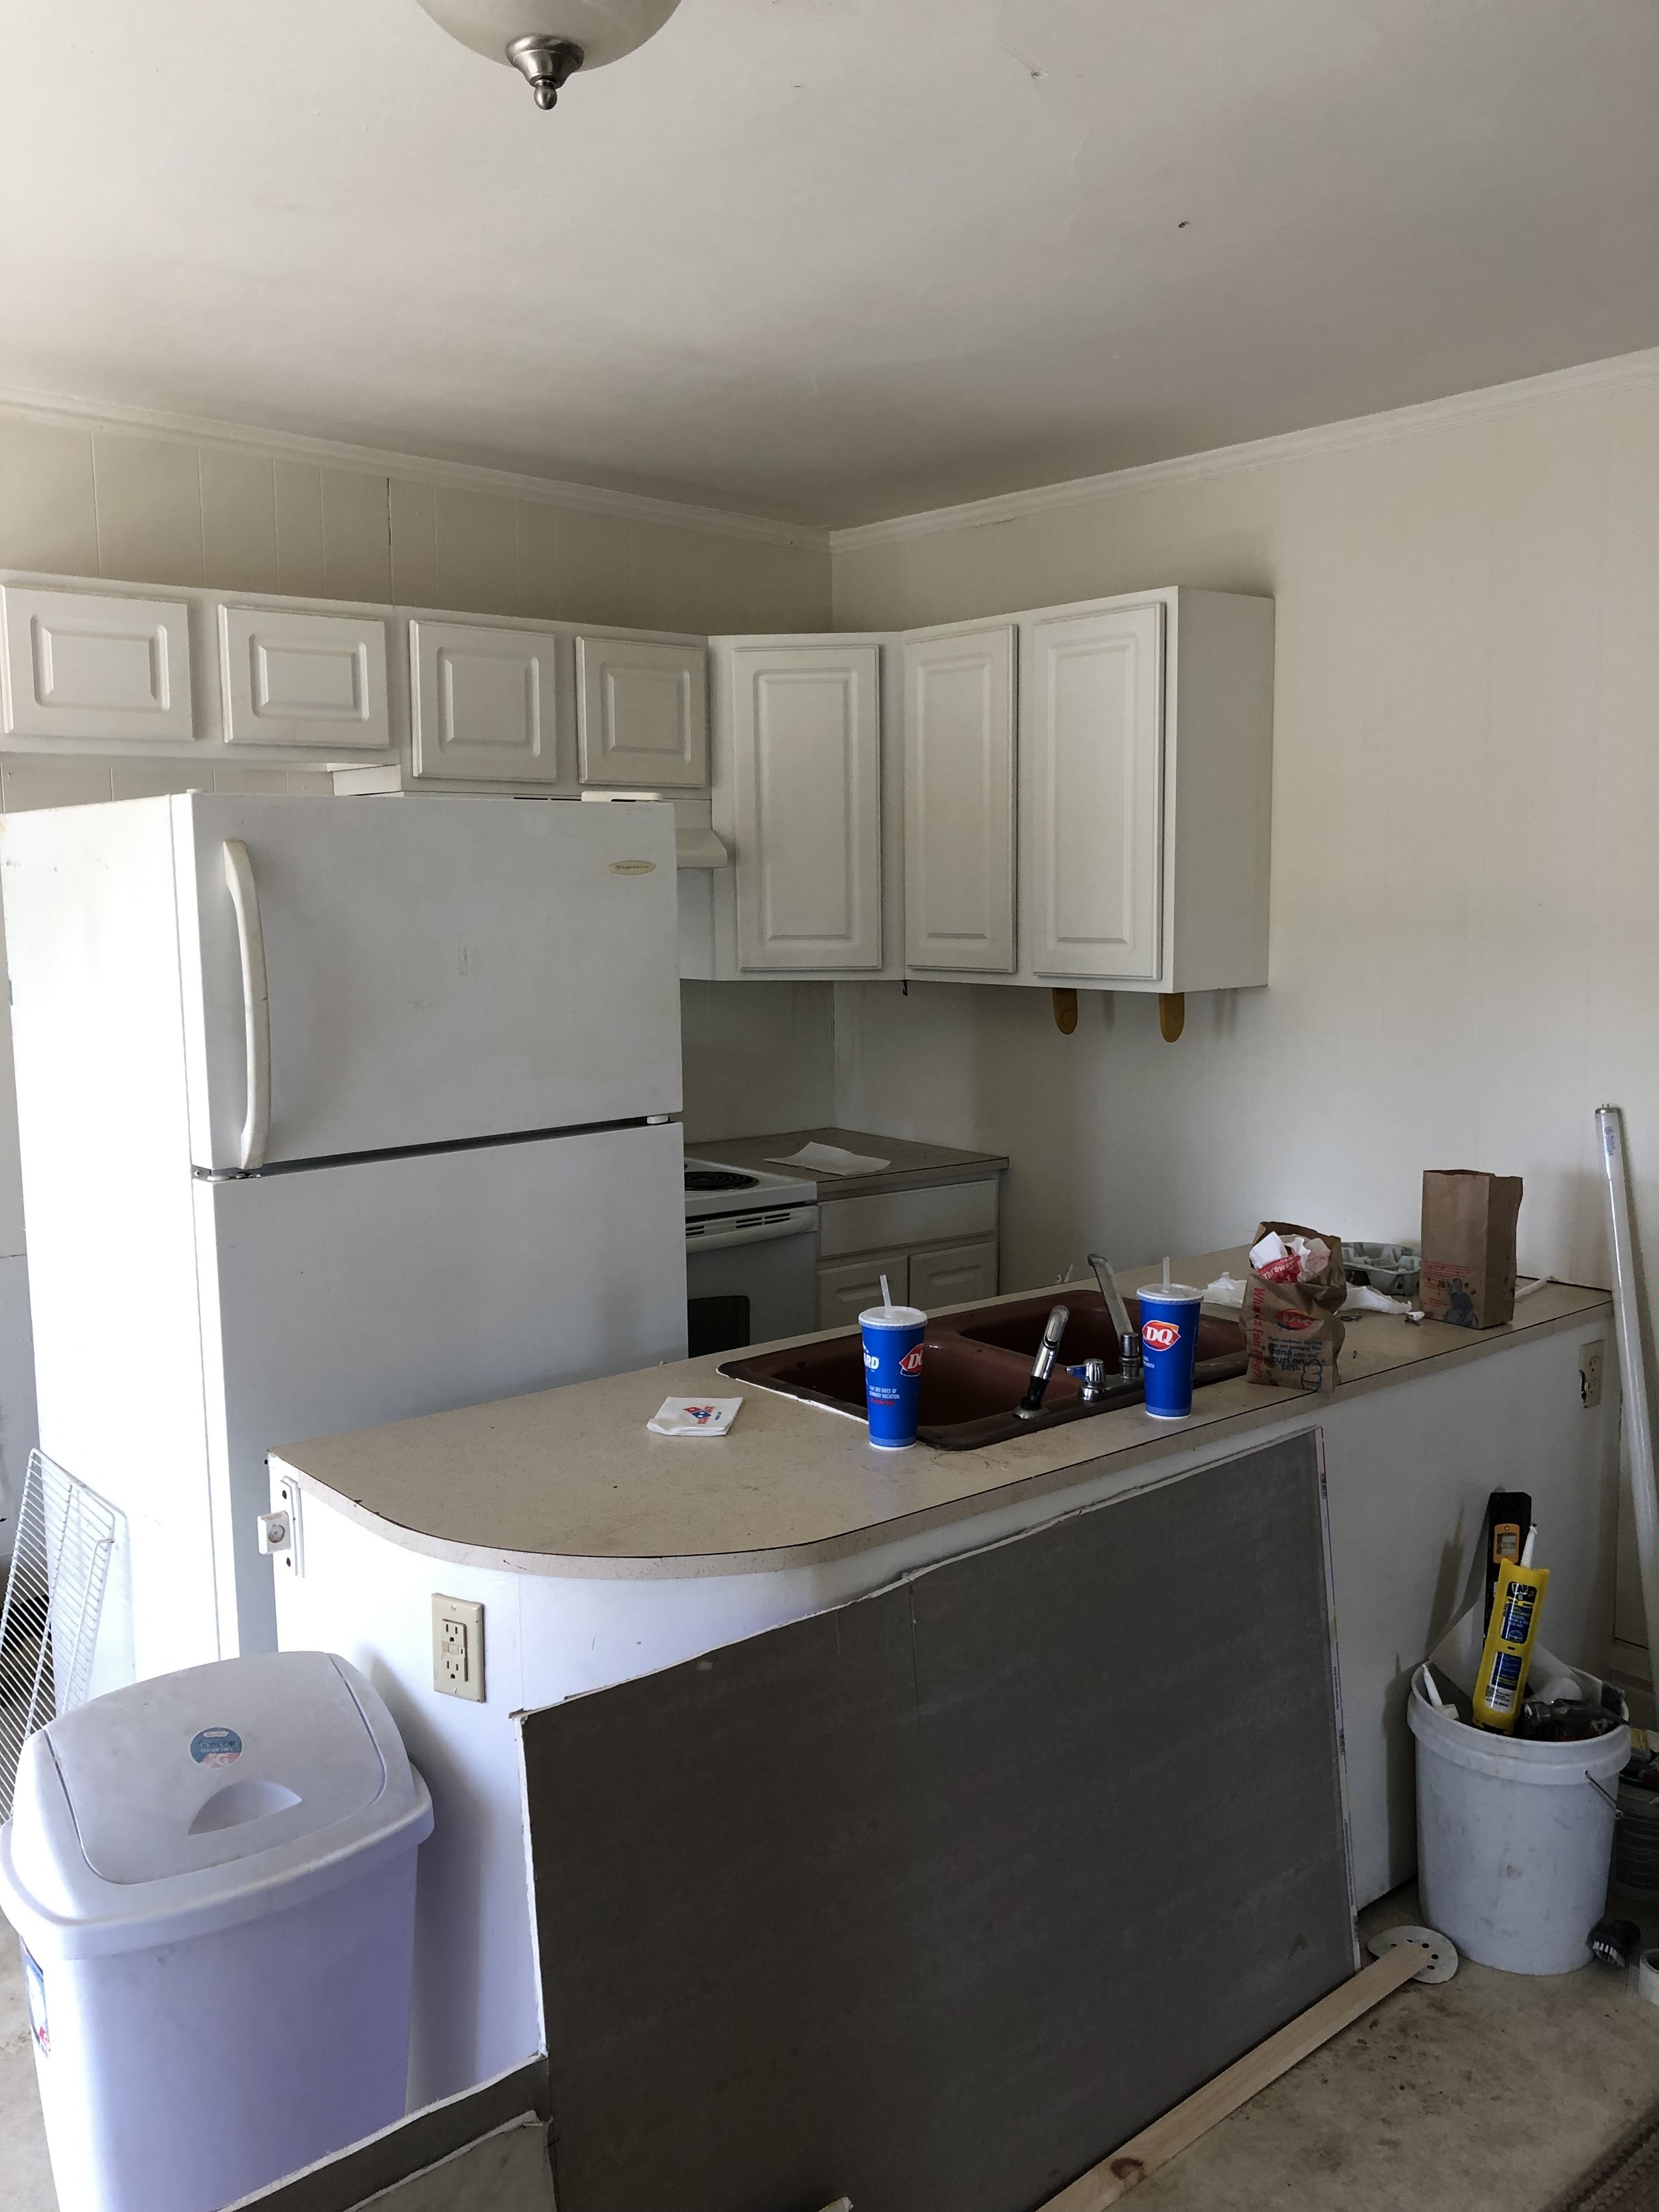
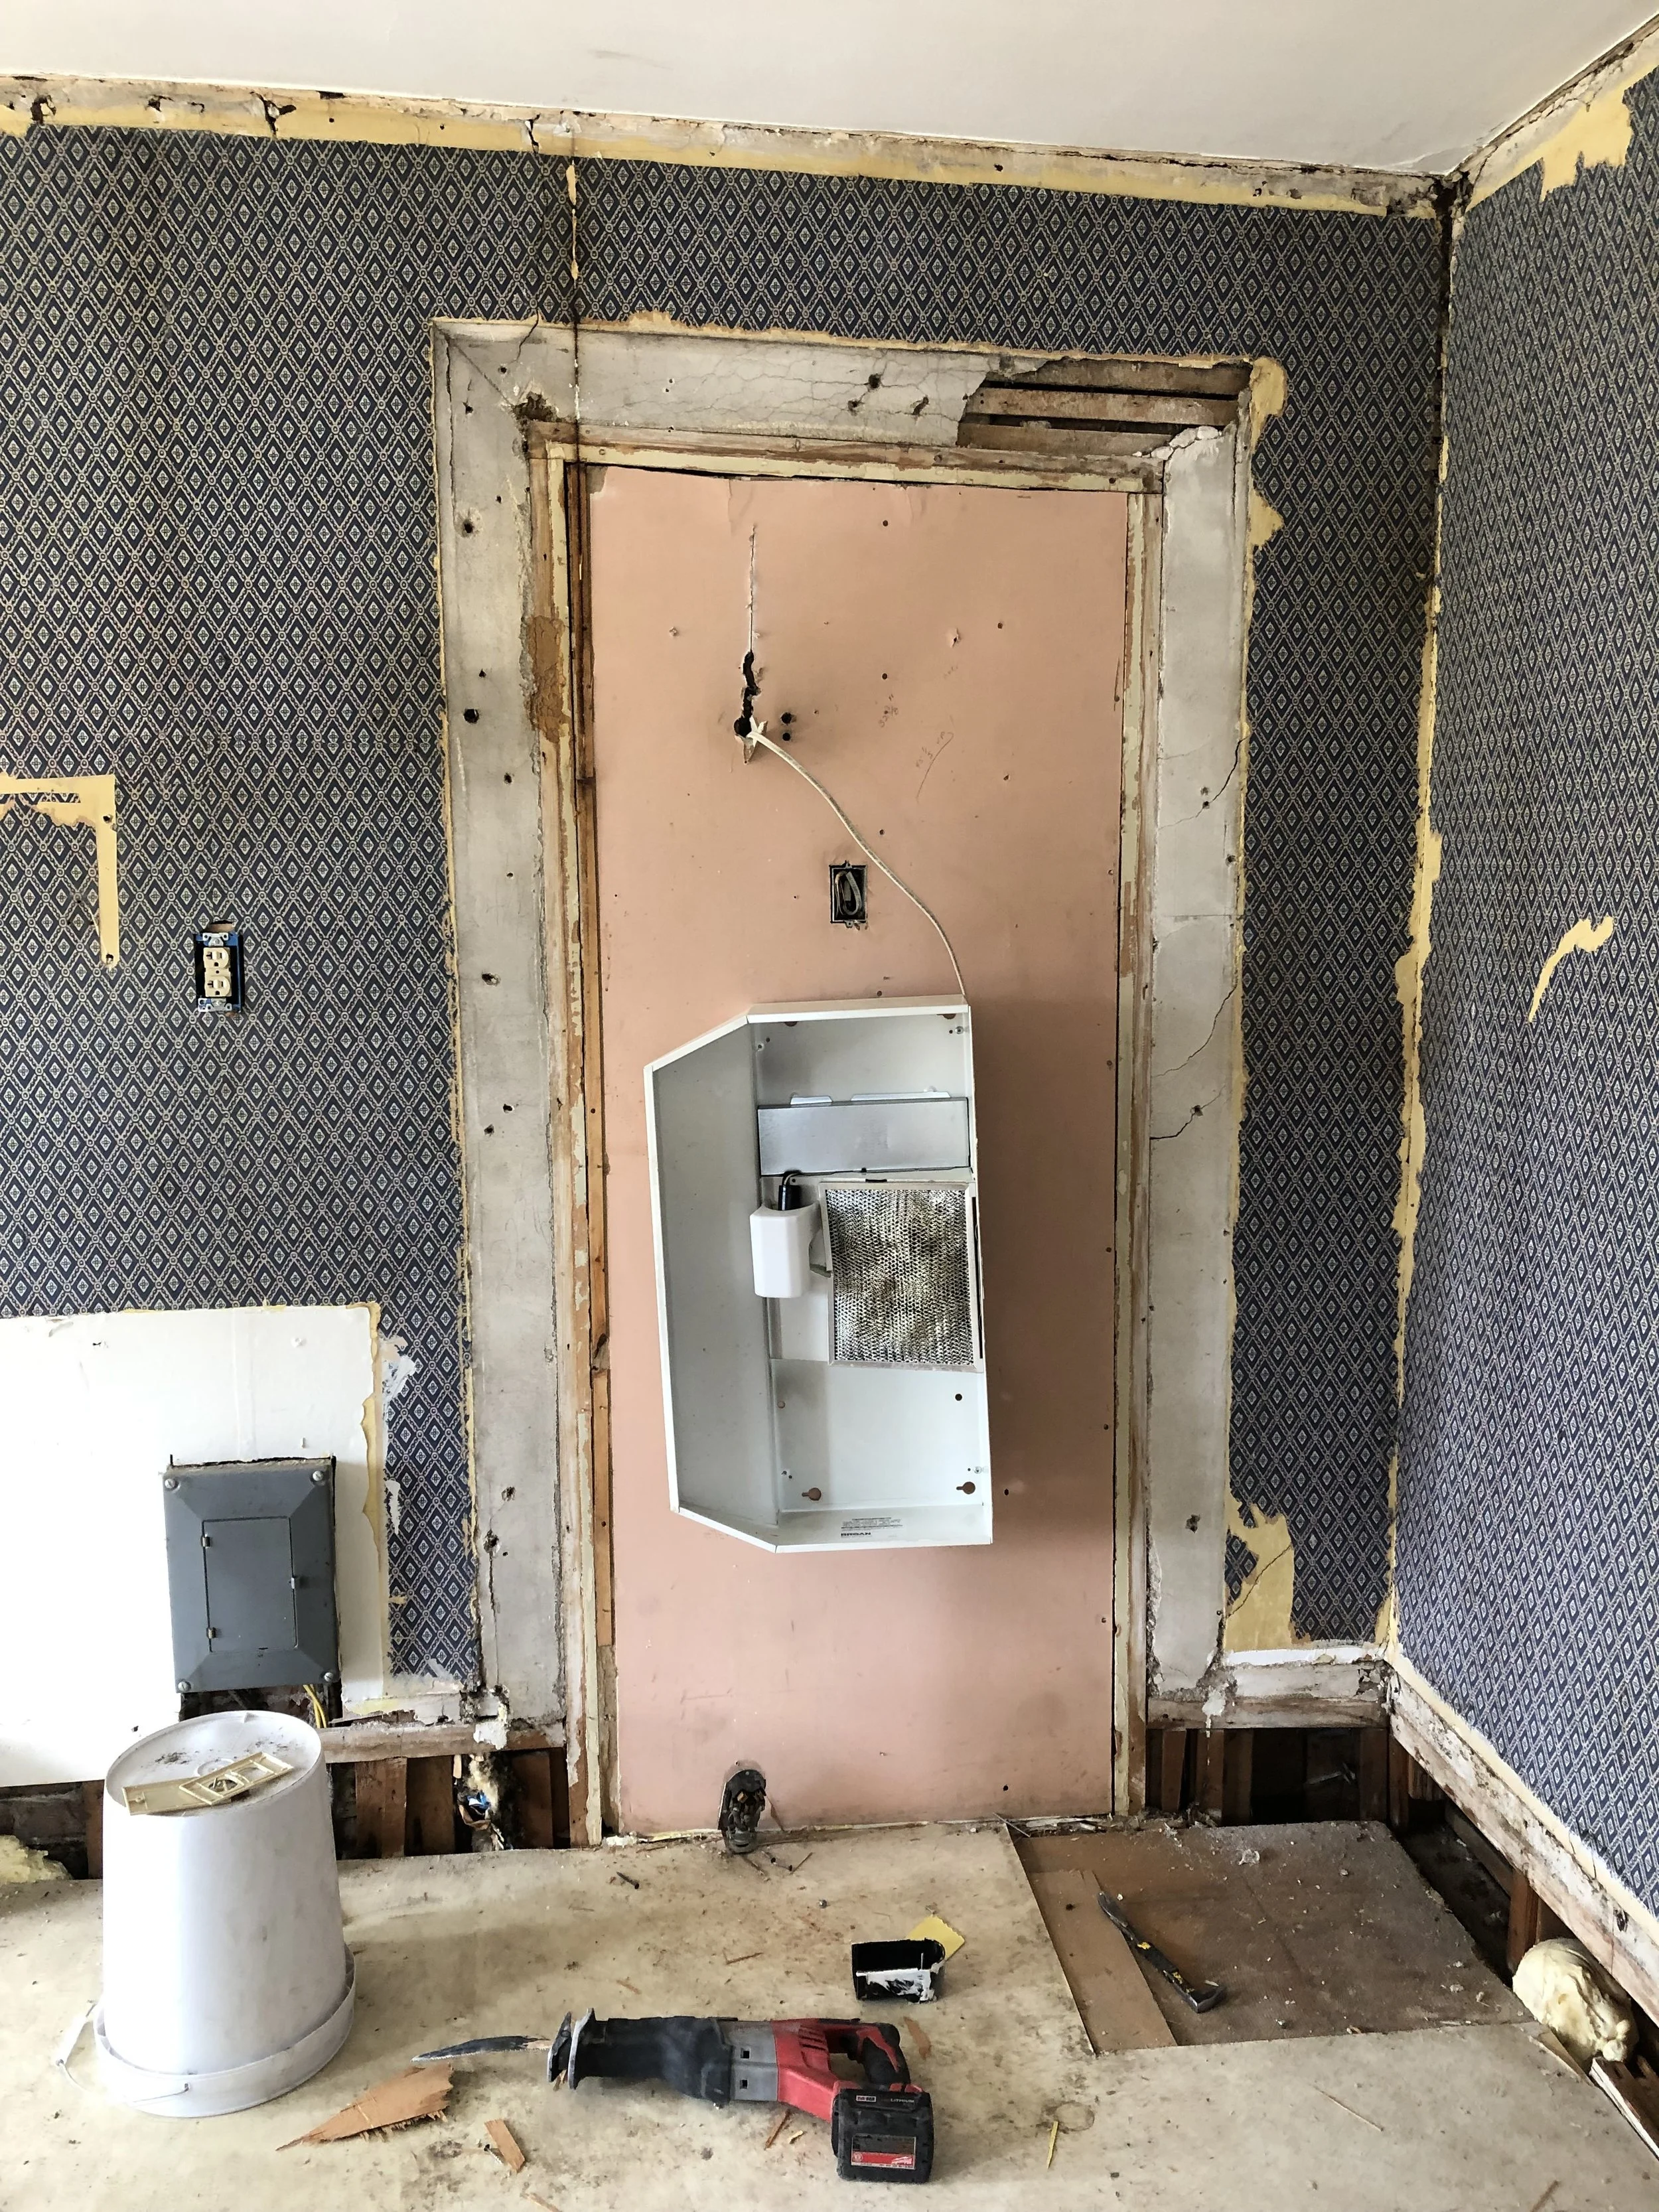
After all the unexpected budget hits we had to scale back our plans for the kitchen remodels - enter the most basic unfinished cabinets from Lowes.  Not my favorite, but they CAN be painted any color (I chose a black) and you can find really great hardware if you’re willing to cruise the interweb long enough - or I may make leather pulls myself.  After two days of painting these suckers, a third of the bases are headed for this unit and the rest will go across the hall.  Unfortunately, tile backslash, new appliances and stone counter top will have to be put off to phase 2.  In the mean time we’re installing bead-board floor to ceiling in the kitchen to cover the damage we found under the 70’s wood panelling (as seen above).

On deck for the next two weeks: installing the kitchen, start painting EVERYTHING, finishing the stairs, starting the dormers/finishing the 3rd floor.  

IMG_8243.jpg

Where the rubber meets the road.

The renovation process is a roller coaster -
the preparation & anticipation of the project…
the excitement of getting started…
disappointment at the first set back (but surely, there won’t be more!)…
then comes the sucker punches one after another - bad plumbing, structural issues, dangerous electrical, holes in the wall hidden by wood paneling, water damage, rot, mold, un-level floors, and so on and on.

This is where the rubber meets the road.  This is where your fortitude is tested, your resourcefulness is pushed and your sanity is questioned.


IMG_8154.jpg
IMG_8149.jpeg
IMG_8153.jpg

Just like any other challenge you face in life - this is where you either hang in or you bail out.  You can throw your hands up and walk away, start throwing money you don’t have at the project or you start problem solving and getting your hands dirty.  

We’re in THAT phase now - every site visit unveils more damage, instability, or risk.  Every visit reallocates money from aesthetics to repairs that will never be seen.  But THAT’S the renovation process.  Thankfully we’ve done this before, so I know to keep calm, clear my head and start getting creative!  Sometimes it even works in your favor to restore, repurpose or go the non-traditional route.

IMG_8155.jpg

And in case you were wondering, we’ve found all of those heart breaking issues already - and we still have another floor to start renovating.

Brick House renovations, part II

We’re two and a half weeks into the overhaul of what we’re currently calling the “Brick House.” (Don’t worry, there’s a very good chance the name will change once we get a history of the building, which rumor has it dates back to the civil war! How cool is that?!)

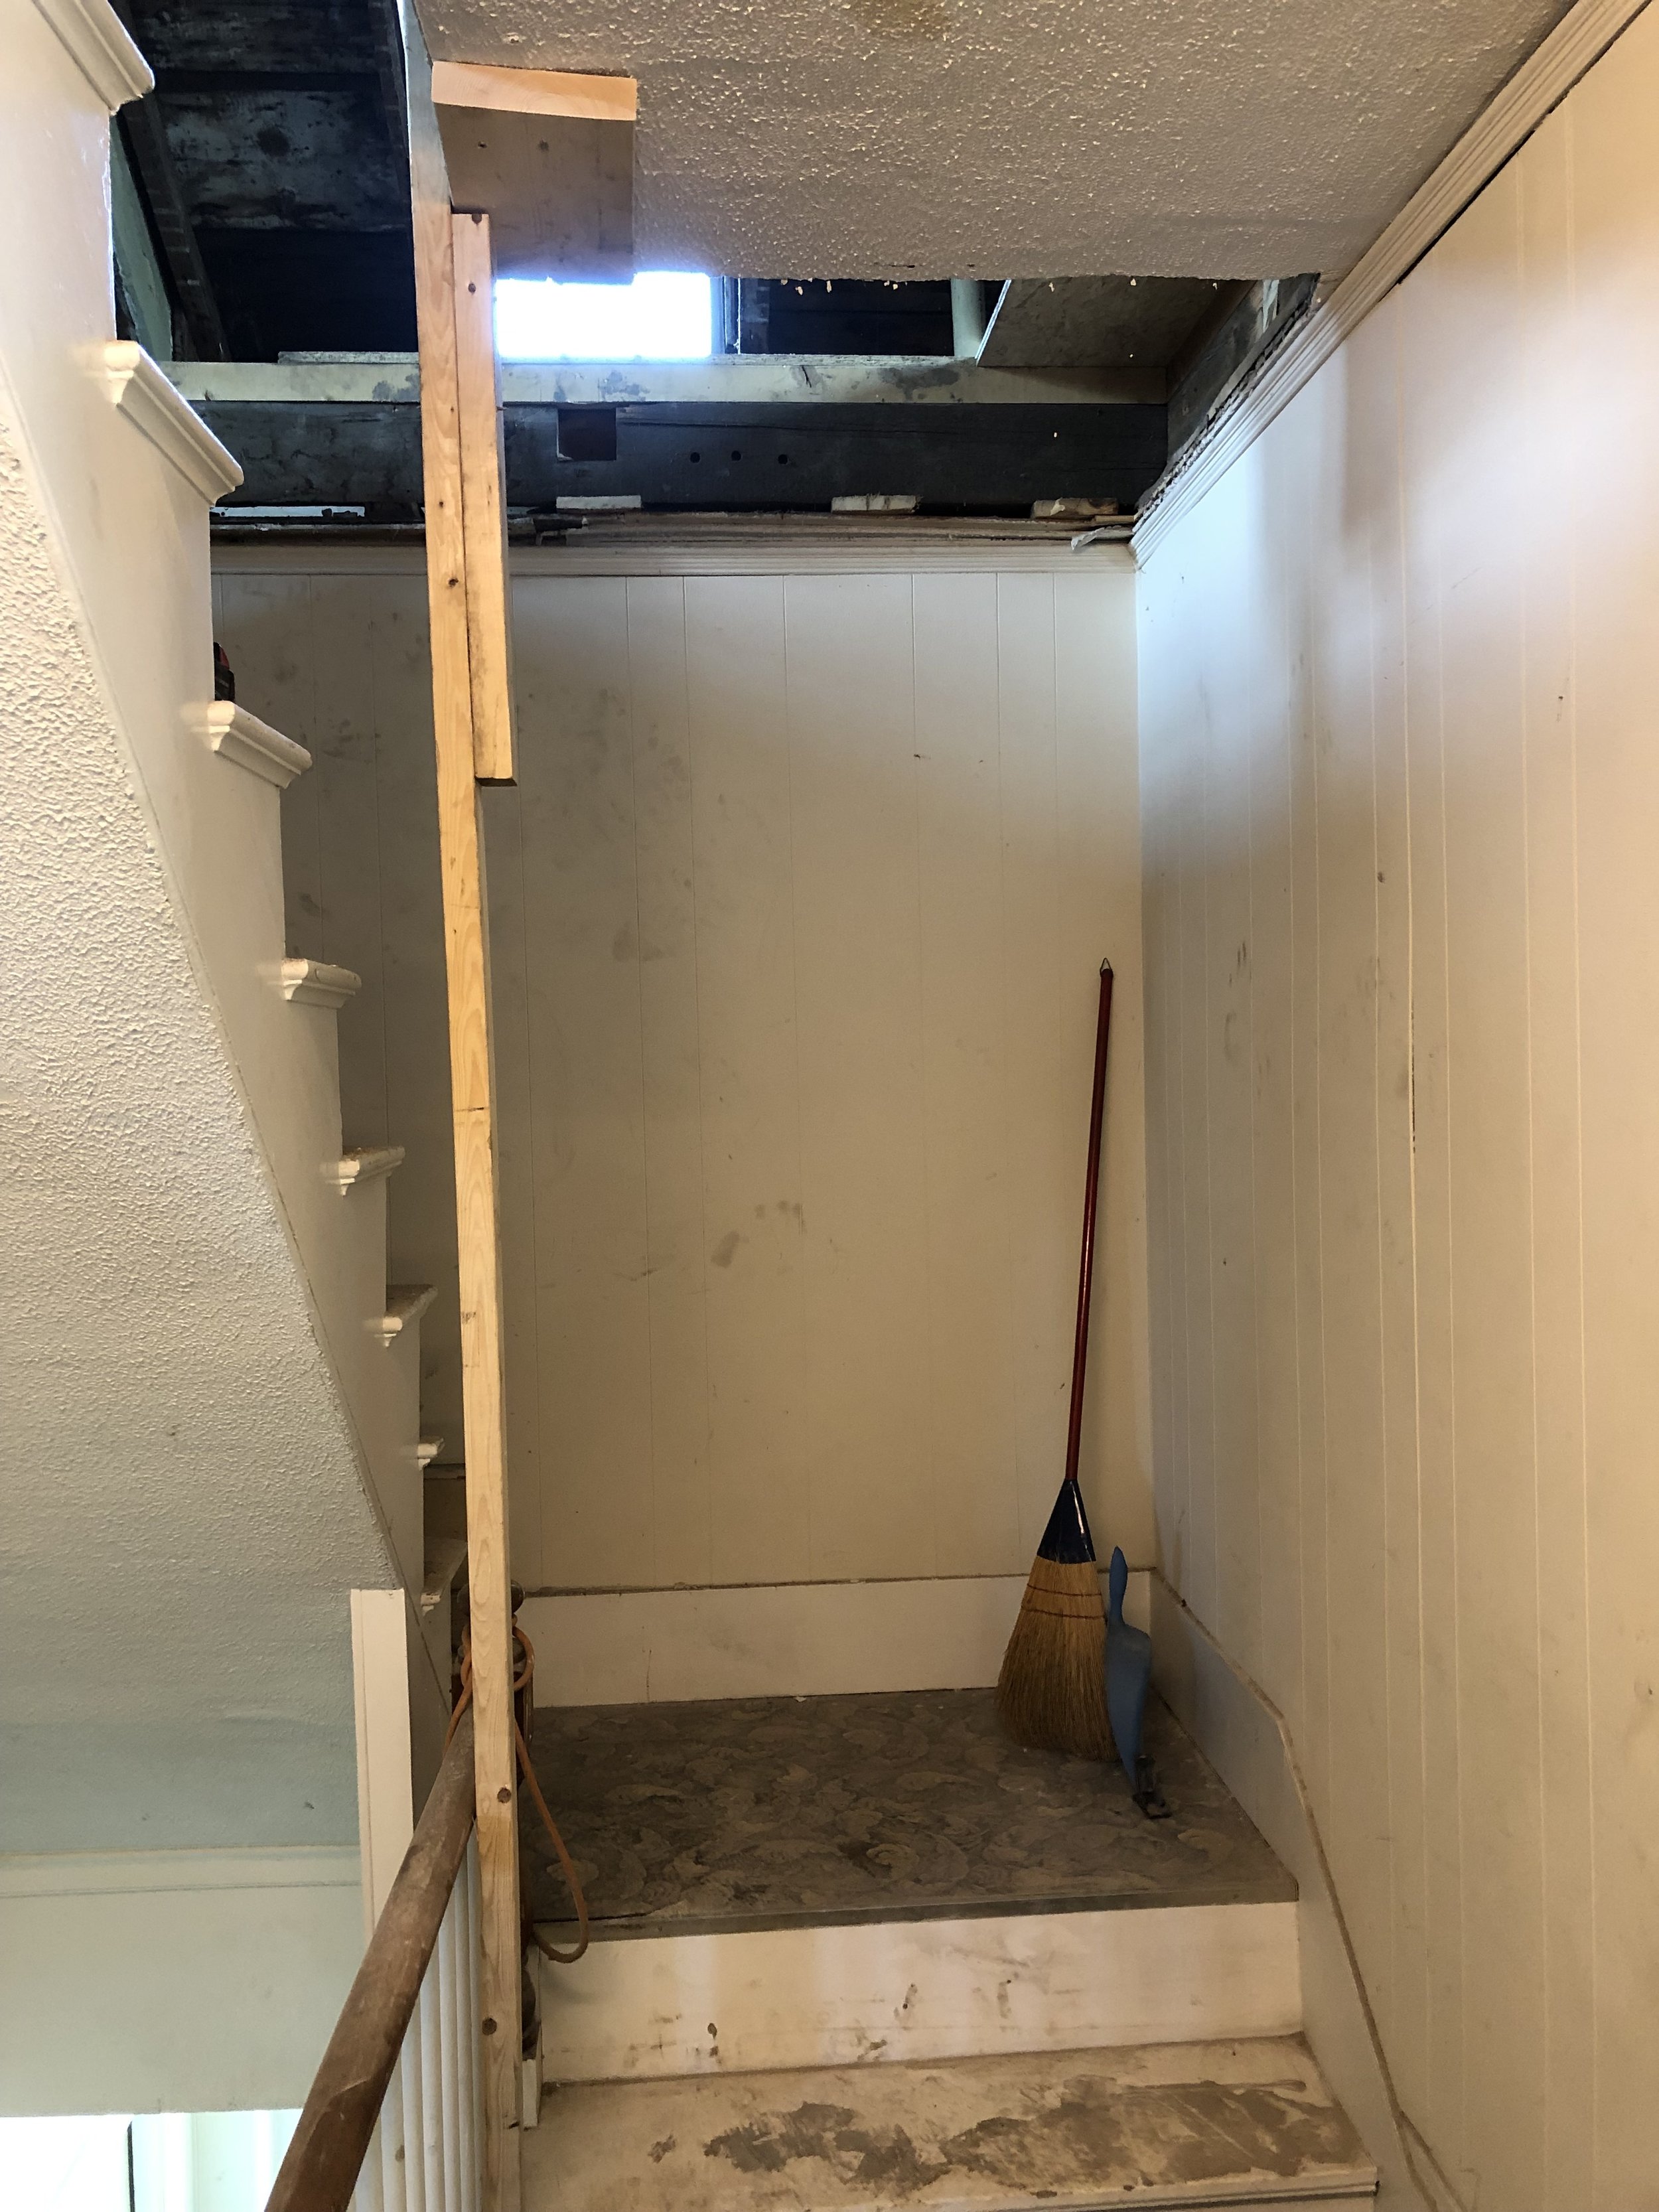
As this is a multiunit that is currently occupied, our projects have been limited to the attic and exterior. So far we’ve…:

IMG_7319.JPG
  1. Removed the sliding door to one of the units to create an exterior cellar access which is great to have in a multiunit so you can have 24 access to the utilities.

  2. Removed the extremely unsafe, un-permitted addition on the backside.
    (Side note: It’s always frustrating to A. take responsibly of previous owners’ shady work or complete lack of maintenance and B. lose valuable square footage. But that’s part of the risk when you’re in the real estate business. When you buy a building, you buy all the neglect that came before you.)

  3. Removed the roof over the front door to expose the beautiful granite lintel and gave the front entrance a facelift by putting in granite steps and re-grading the lawn to show off the granite foundation.

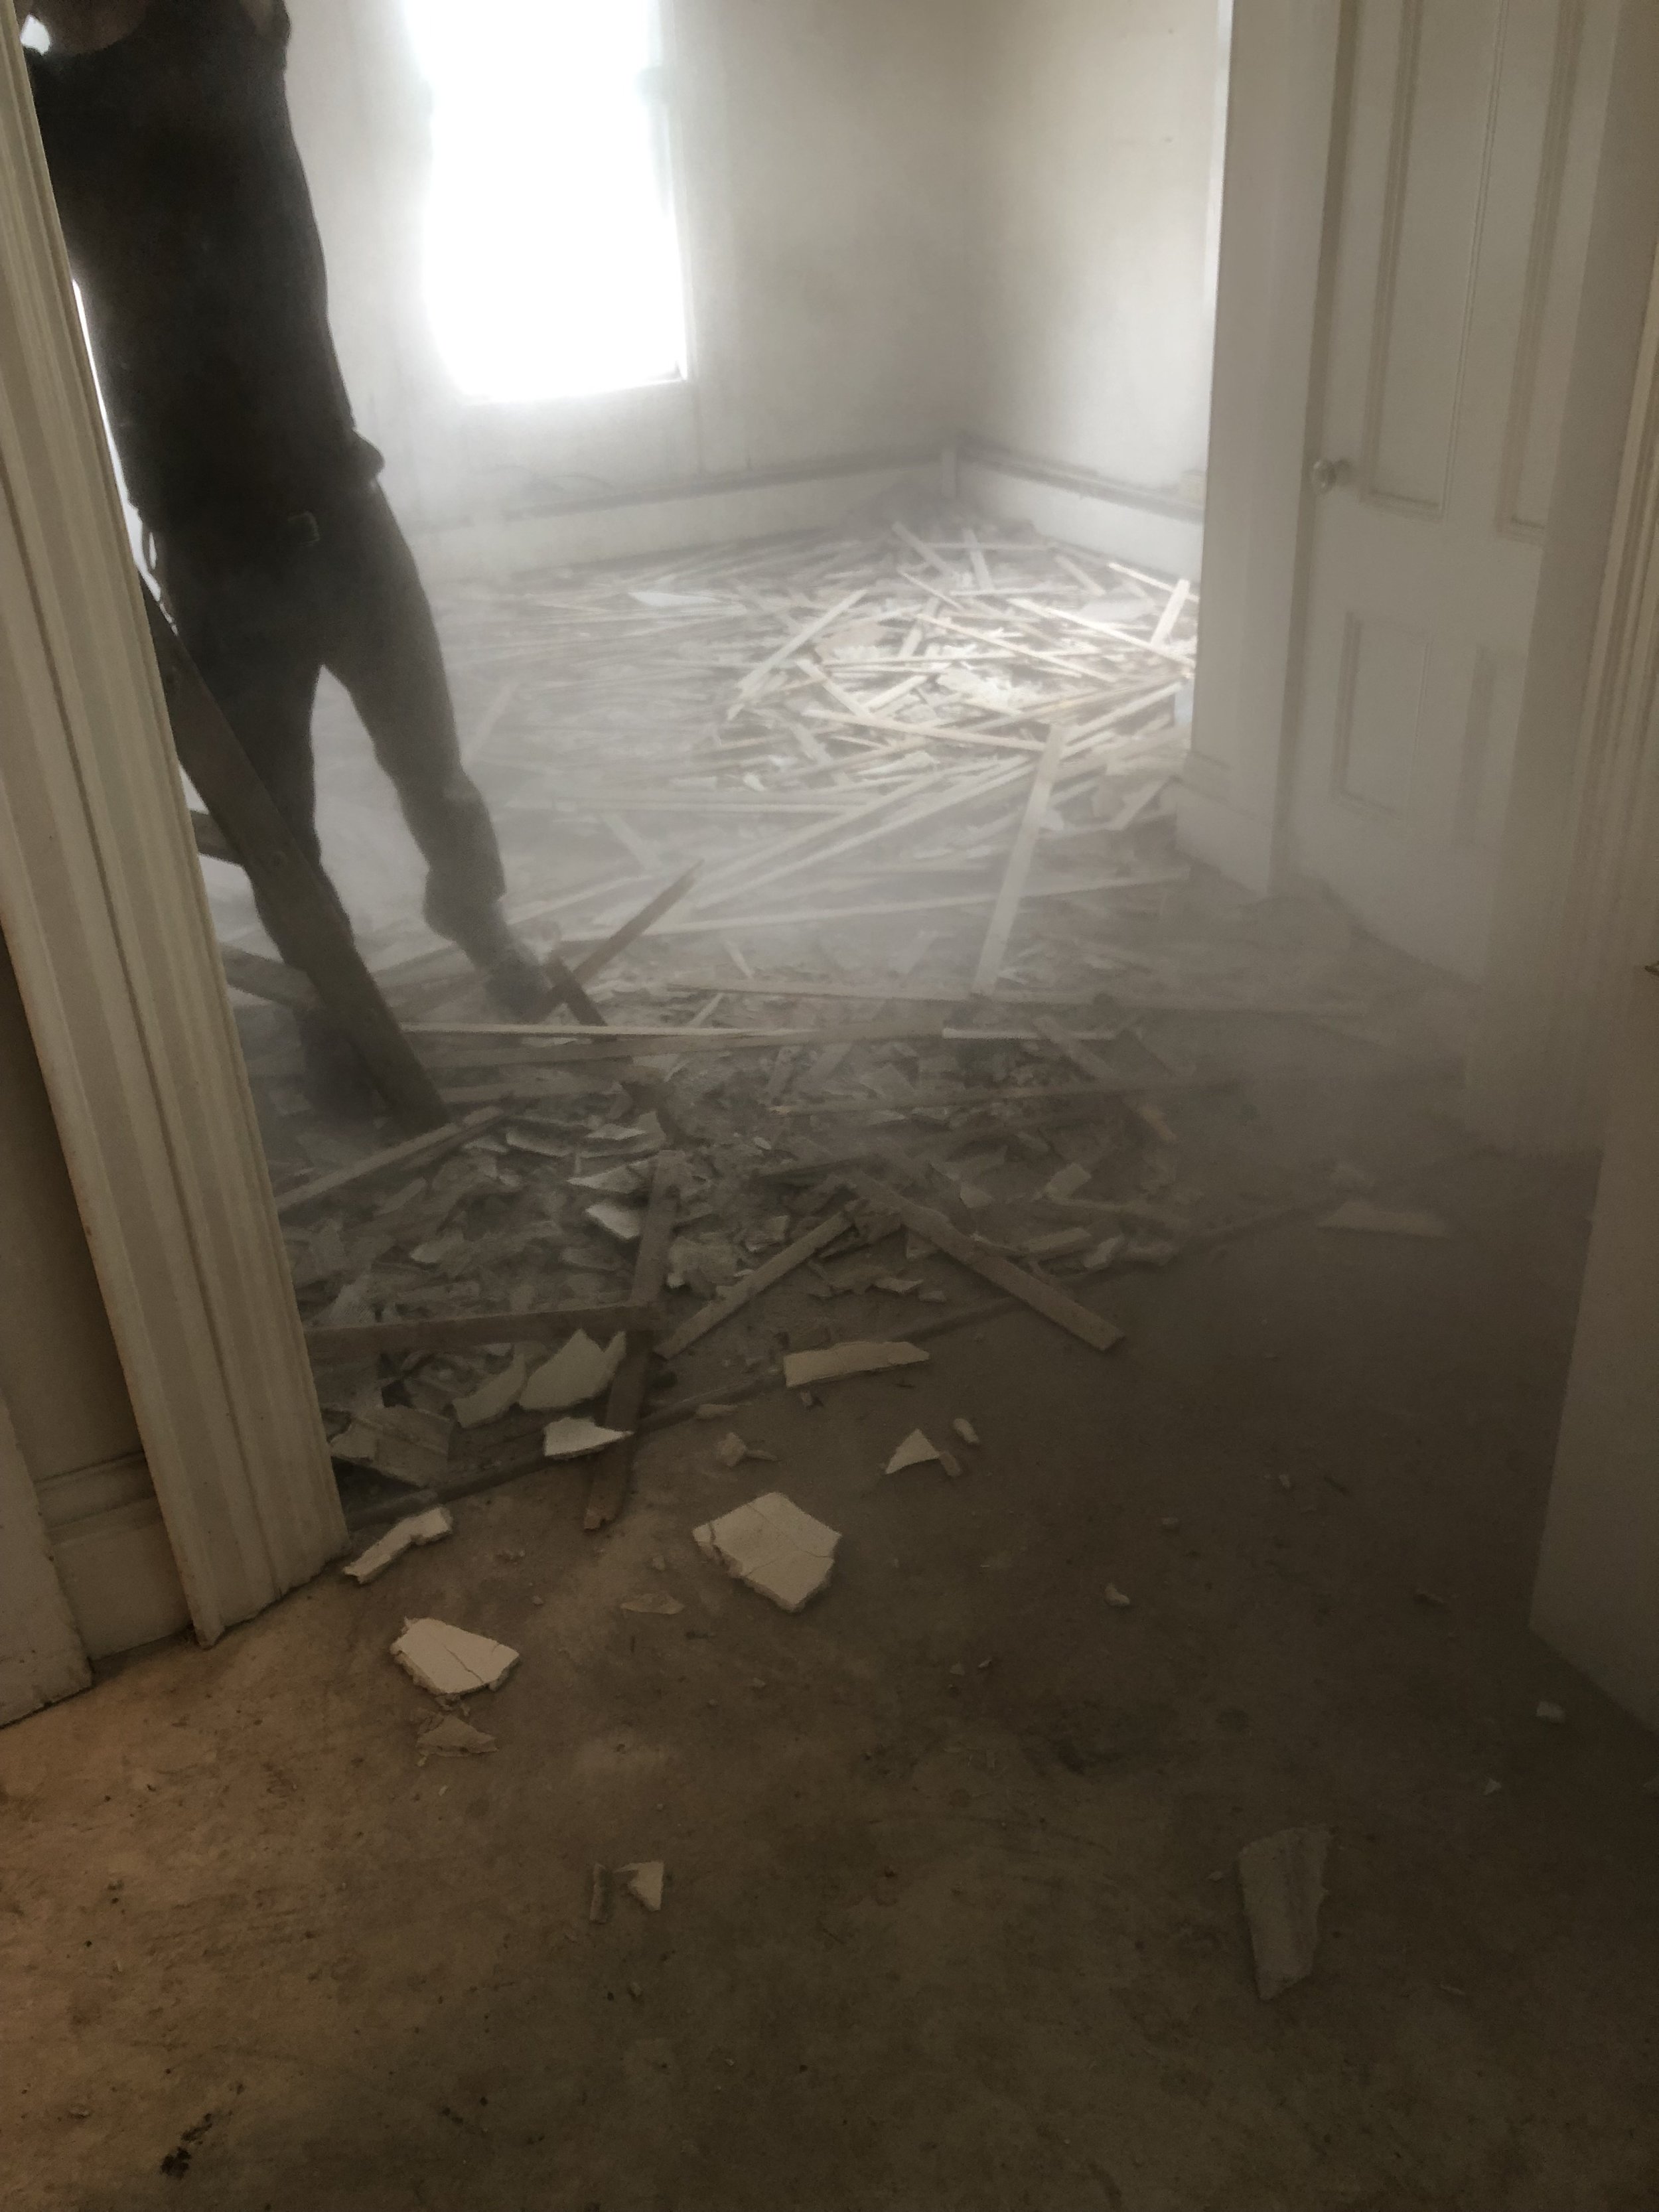
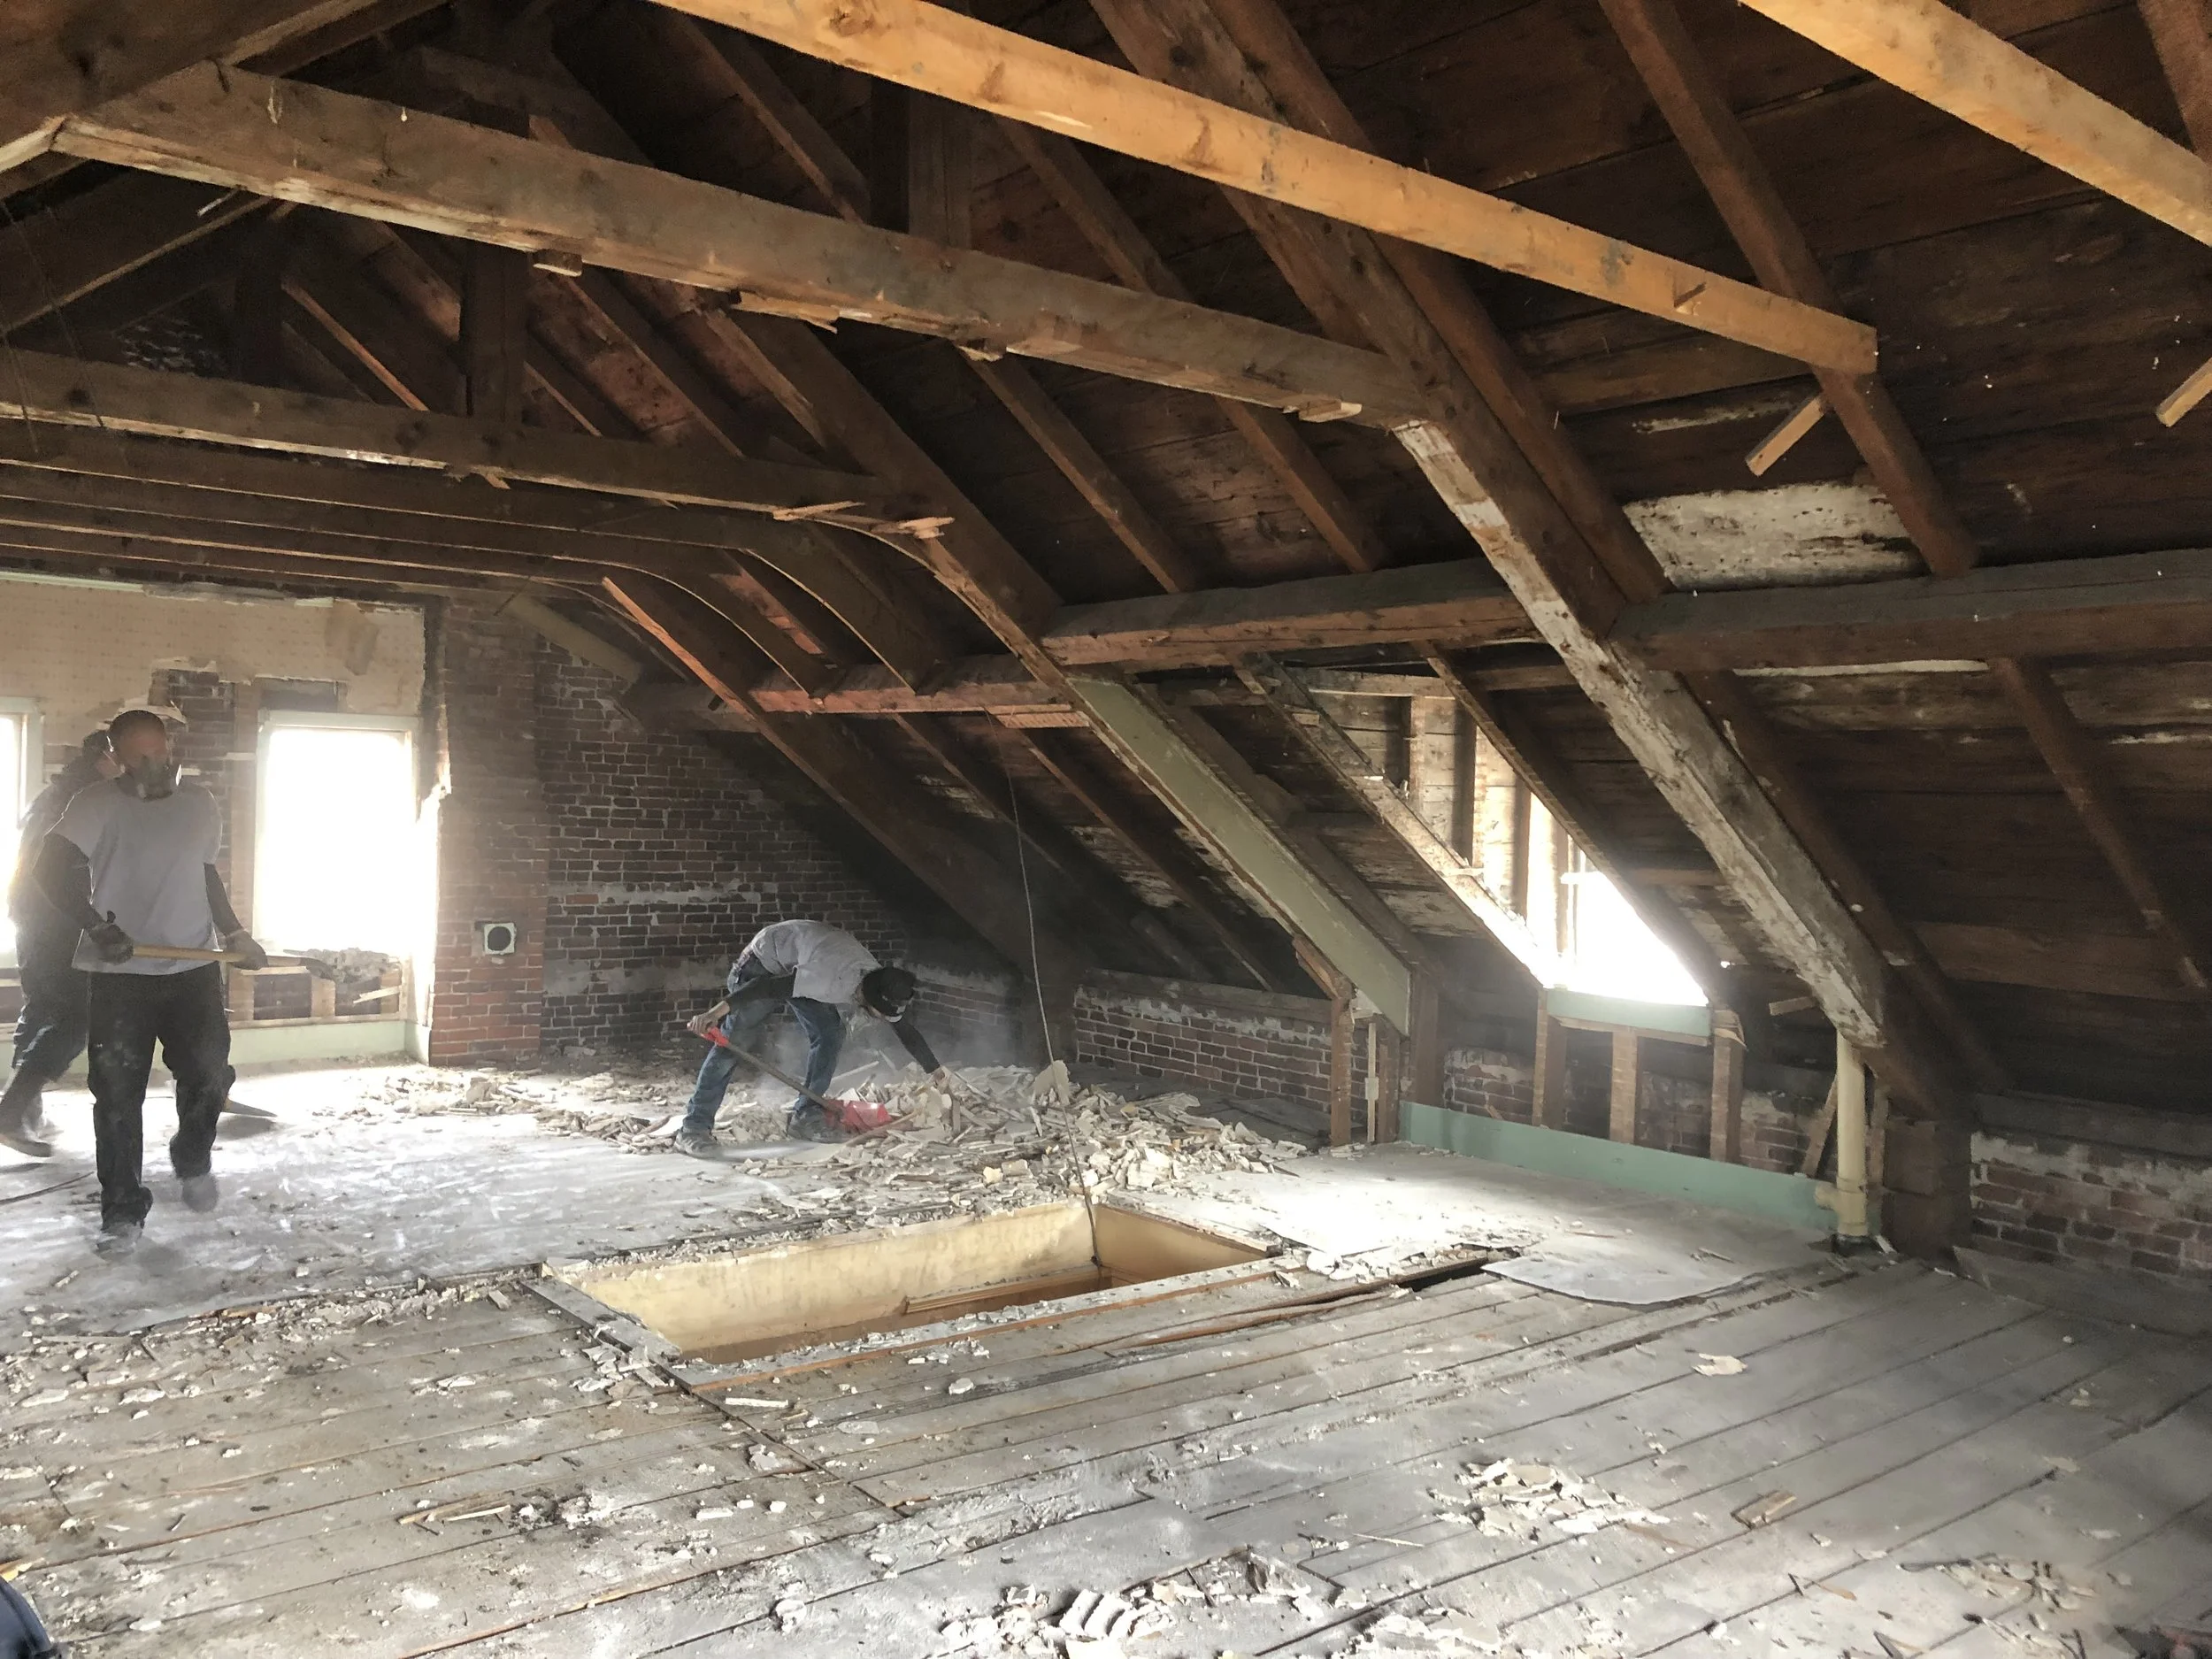
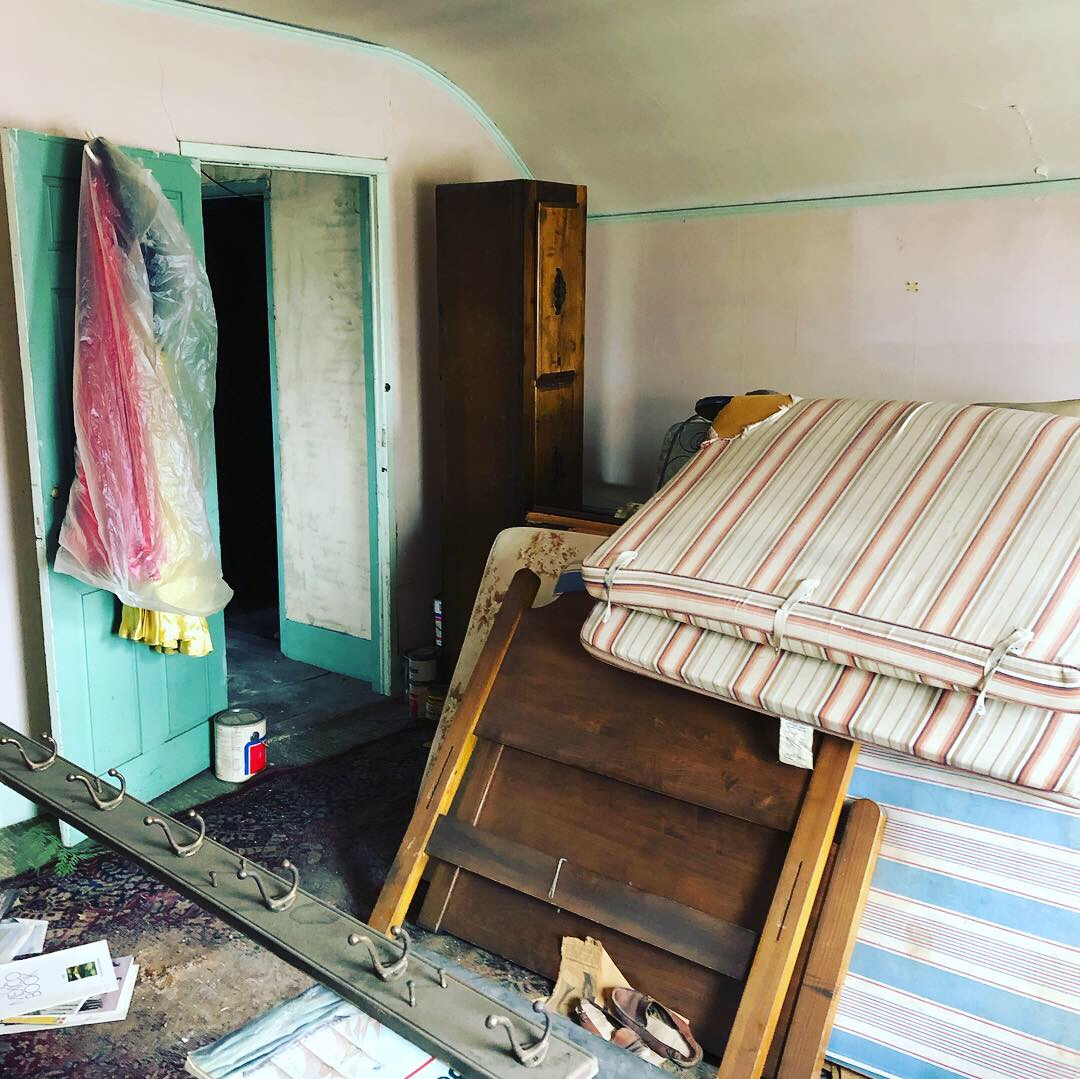
  4. Cleared all the goodies from the attic, demo’ed all the walls and took up the floor boards for repurposing. (Tiny dormer will be getting removed when we start building the TWO NEW DORMERS!)

The green string is level… And yes, that’s every HGTV show’s nightmare - knob and tube!

The green string is level… And yes, that’s every HGTV show’s nightmare - knob and tube!

While we wait for tenants to move to their new homes, we’re leveling the floor of the attic which is off by 4” at its worst. (Did I mention this is a REALLY OLD building? But this doesn’t scare us, the first property we ever bought had a TWO direction lean that rivaled this one…)

Check back for more updates in 2 weeks! We should be seeing some major changes by then!

FRONT ELEVATION BEFORE + IN PROGRESS: Landscaping, lawn, and fresh paint are coming in the near future.

ATTIC BEFORE + IN PROGRESS: The floor boards will be repurposed for the ceiling among other fun places!

Courage Training

Fitness - courage - health

Exercise is the tool I’ve used to claw my way out of some very dark times. No one’s life is exempt from hardship, disappointment or heartbreak but some are much more adept at weathering the storms. I am definitely in the sensitive camp and tend towards getting stuck in dark places. Over 10 years ago, what started as forcing myself to just break a sweat a couple times a week - and maybe finding a brief moment of peace during an especially hard workout - lead to the development of new levels of self reliance and confidence.

After YEARS of consistent practice, exercise has become my meditation but it has also created mental fortitude where there once was very little. No one forces me to get up early and do a painful workout - that’s up to me and I never let myself negotiate out of it. Ever. Showing up up to do something uncomfortable creates courage. And courage is what will get you through the hard times, courage will get you through the tough decisions, courage will help you survive the storm.

You create your own courage.

If you’re struggling, I’m here to help. Whether it’s creating a plan, providing the workouts, being a sounding board - I got you.

Wearing a new hat - Brick House, Part I

We’ve returned from our three and a half month road trip in Vaughn the Van, and since arriving on the Midcoast I’ve hit the ground running…

Some things are back to normal - I’m training one-on-one clients, Forward Momentum is still cranking out great workouts for the FOMO Tribe, our Airbnb is almost completely booked through the summer, I keep working on little projects in our home (last week I refinished our kitchen island, this week I finished a mural in the basement) and the boys are happy to be back on their daily backyard-hike schedule.  


SHE’S GOT GOOD BONES… AND BRICKS AND GRANITE!

SHE’S GOT GOOD BONES… AND BRICKS AND GRANITE!

But there’s one NEW thing - we bought another multiunit and I’m managing the construction project! 

It’s a six-unit in Rockland, you’ll probably recognize it.  Yes, “it’s a project.”  Yes, we’ve “got some work to do.”  [Insert various armchair quarter back comments.]  Rest assured - this isn’t our first rodeo, we’ve got a great crew, our heads are not in the sand. 

And don’t worry, I plan to document the whole process!  


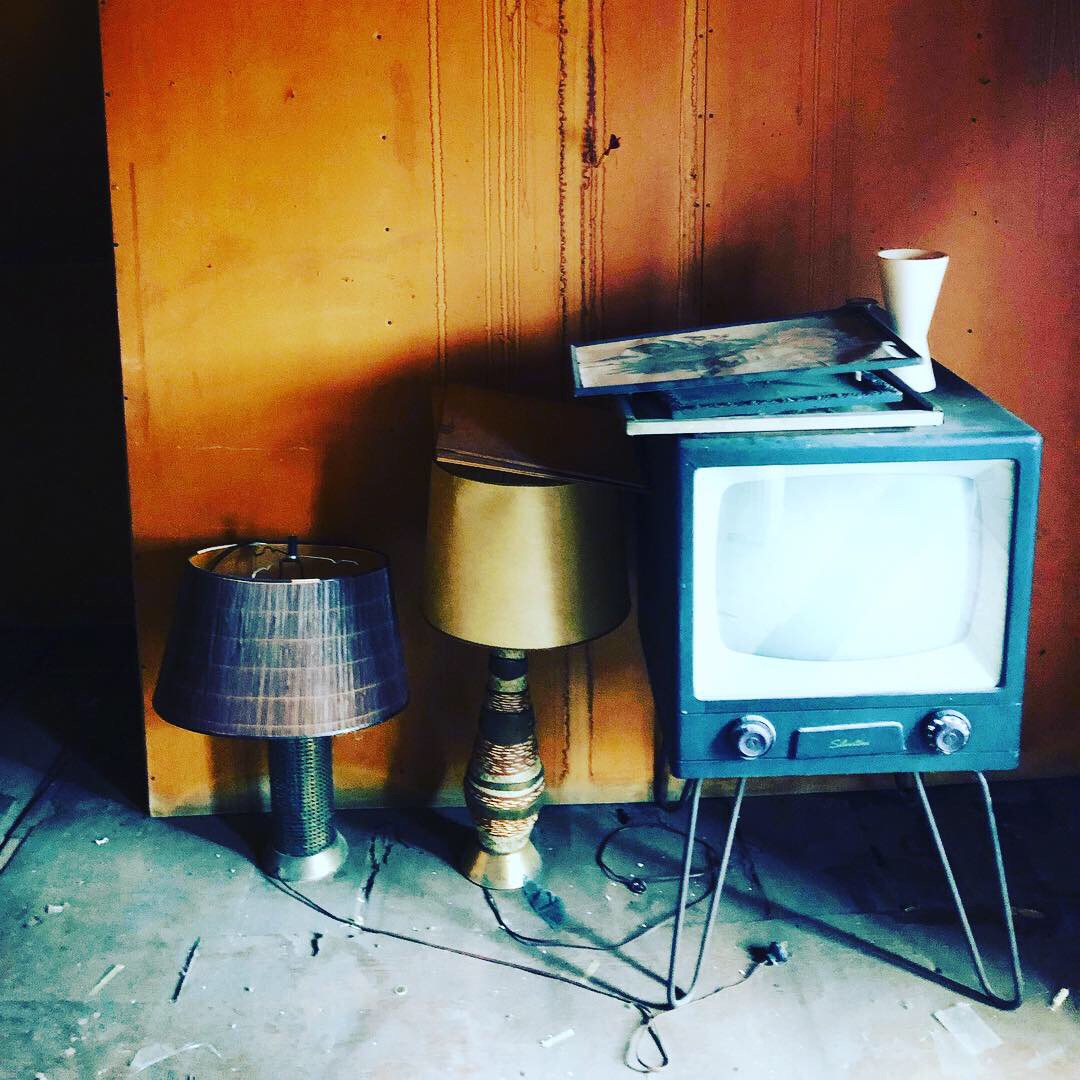
Stay tuned and check back often, I’ll be incorporating progress pictures/posts into the blog!  For now, I’ll live you to enjoy these of the attic and all the treasures we’ve found there. (I need to open an antique shop now too!)

Sketches in progress.

Creativity is a spark. It can be excruciating when we’re rubbing two rocks together and getting nothing. And it can be intensely satisfying when the flame catches and a new idea sweeps around the world.
— Jonah Lehrer

I can attest to the pain of forced creativity - I assure you, you do not always feel like fulfilling 4 years worth of studio art assignments day in and day out. Even now, sometimes I still have to just commit to putting paint or pen to paper and go from there.
Lately, I’ve been reversing the process and playing with the paint first then adding gestural lines to the damp paper. Still waiting on the “flame” but I know it will come, it always does.

The process:

  1. Get inspired by colors, shapes, forms, textures within the landscape.

  2. Set up “studio” on the counter in the van (this is quite a process in itself).

  3. Lay down watercolor.

  4. Let partially dry, then add gestural ink drawings.

STEP 1. INSPIRATION.

STEP 1. INSPIRATION.

STEP 2. ASSEMBLE STUDIO.

STEP 2. ASSEMBLE STUDIO.

STEP 3. PLAY WITH PAINT.

STEP 3. PLAY WITH PAINT.

STEP 4. ADD INK.

STEP 4. ADD INK.

IMG_5984.jpg

Sky-scape sketches inspired by Florida sunsets over Santa Rosa Island and the Gulf Islands National Seashore. Watercolor and pen + ink on paper.